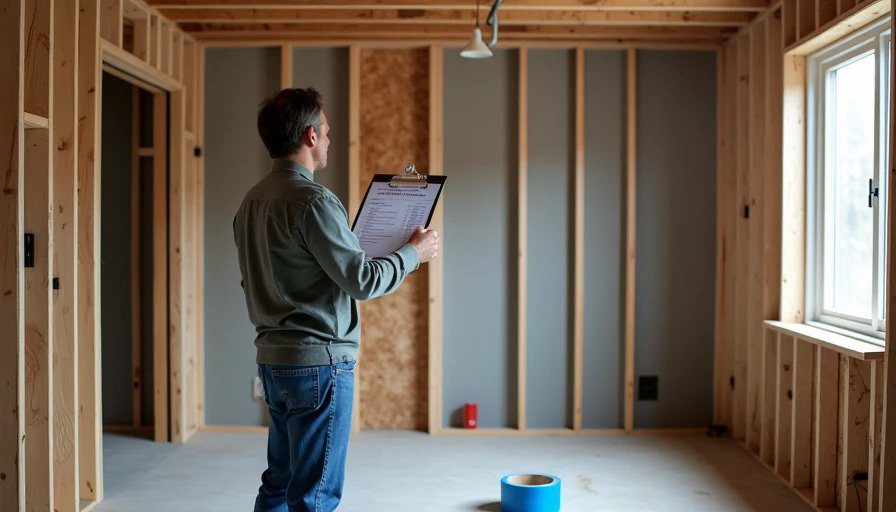
Here's a truth that doesn't get said enough: the pre-drywall walkthrough is the single most important inspection of your entire renovation.
Not the final walkthrough. Not the rough-in inspection. The one that happens after all the trades have run their pipes, wires, and ducts, but before the insulation goes in and the drywall goes up.
Why? Because once that drywall is screwed on, everything behind it becomes a mystery. You can't see if the plumbing is sloped correctly. You can't verify that the electrical boxes are at the right height. You can't confirm that the HVAC registers are positioned where you wanted them. You can't check that the blocking is there for your grab bars or towel racks.
The drywall is the point of no return. After it's sealed, changes cost thousands – not because the work is hard, but because opening the wall destroys the finish, creates dust, and delays everything.
So here's your checklist – 32 items, trade by trade, to verify before that insulation truck rolls up to your driveway. I've designed this to be printable: take it with you, check each box, and take photos of every single item.
ELECTRICAL (Items 1–12)
This is the largest section because electrical is the hardest to fix after drywall.
Item | Pass | Fail | Notes | |
|---|---|---|---|---|
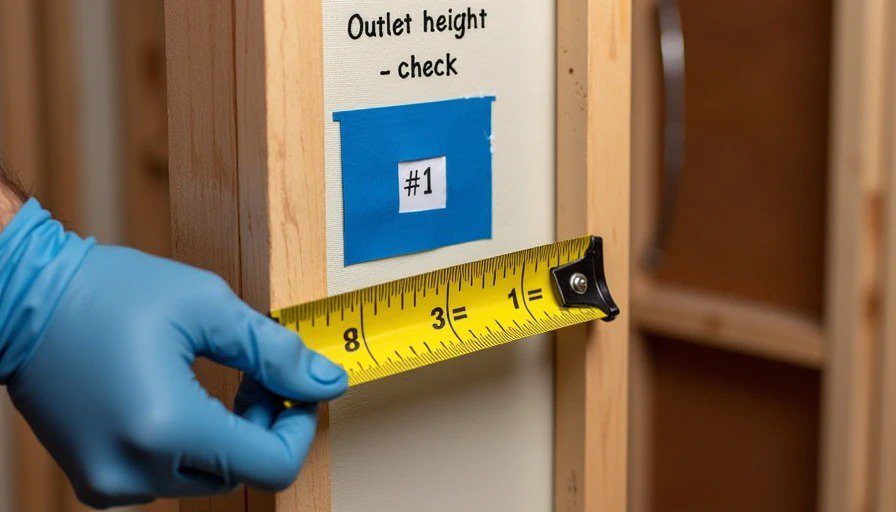
1 | Outlet heights – Measure. Are they where you expect (typically 12–18 inches to center)? | ☐ | ☐ | |
2 | Switch heights – Usually 48 inches to center. Same on every wall? | ☐ | ☐ | |
3 | Kitchen counter outlets – Required every 4 feet, no more than 2 feet from a break. Count them. | ☐ | ☐ | |
4 | GFCI locations – Kitchens, bathrooms, garages, exteriors. Are the circuits designated? | ☐ | ☐ | |
5 | Dedicated circuits – Fridge, microwave, dishwasher, disposal, range, hood – each on its own circuit? | ☐ | ☐ | |
6 | Box depths – Are all boxes flush with the planned finished wall surface? | ☐ | ☐ | |
7 | Wire gauges – 14-gauge for 15-amp circuits, 12-gauge for 20-amp. Confirm. | ☐ | ☐ | |
8 | Smoke/CO detector locations – Are they placed per code (outside bedrooms, etc.)? | ☐ | ☐ | |
9 | Exterior lighting – Stubs for sconces, floodlights, or coach lights are in place? | ☐ | ☐ | |
10 | Vanity / mirror lighting – Boxes centred over sinks at the right height? | ☐ | ☐ | |
11 | TV / data outlets – Are they where you want them (including height for a mounted TV)? | ☐ | ☐ | |
12 | Low-voltage wiring – Speaker wire, thermostat cable, doorbell, security – all in place? | ☐ | ☐ |
PLUMBING (Items 13–19)
If a pipe leaks behind the wall, you'll know. But if it's installed wrong – sloped backwards, undersized, or missing a cleanout – the symptoms will appear later, and they'll be expensive.
Item | Pass | Fail | Notes | |
|---|---|---|---|---|
13 | Drain slope – Minimum 1/4 inch per foot for drain pipes. Is it visible? | ☐ | ☐ | |
14 | Vent pipes – Every fixture needs a vent. Are they installed within code? | ☐ | ☐ | |
15 | Shower valve rough-in – Is the depth correct for your trim kit? | ☐ | ☐ | |
16 | Tub filler location – Centred on the tub, right height for the deck or wall? | ☐ | ☐ | |
17 | Cleanouts – Are there accessible cleanouts for main drains? | ☐ | ☐ | |
18 | Water supply stub-outs – Are they the right height for sinks, toilets, laundry? | ☐ | ☐ | |
19 | Water hammer arrestors – Required for fast-closing valves (dishwasher, washing machine). Are they there? | ☐ | ☐ |
HVAC (Items 20–24)
Airflow is invisible, but poor placement makes rooms uncomfortable forever.
Item | Pass | Fail | Notes | |
|---|---|---|---|---|
20 | Supply register locations – Are they where you planned, not blocked by cabinets or furniture? | ☐ | ☐ | |
21 | Return air grilles – Sized correctly and positioned for good air circulation? | ☐ | ☐ | |
22 | Range hood duct – Correct size for your CFM (at least 6 inches for 400 CFM, 8–10 inches for higher). | ☐ | ☐ | |
23 | Bathroom exhaust fans – Ducted to the exterior (not into the attic) and with the right diameter? | ☐ | ☐ | |
24 | Thermostat wire – Is it run to the right location, and is it the correct gauge/strand count? | ☐ | ☐ |
FRAMING / STRUCTURAL (Items 25–29)
These are the things that support your finishes – and your safety.
Item | Pass | Fail | Notes | |
|---|---|---|---|---|
25 | Fire blocking – Required between floors and at vertical stud cavities. Are they installed? | ☐ | ☐ | |
26 | Structural posts/beams – Are all LVLs, steel beams, and posts in place per the engineer's plans? | ☐ | ☐ | |
27 | Nailers / blocking – Is there wood backing for towel bars, grab bars, wall-hung toilets, and handrails? | ☐ | ☐ | |
28 | Window/door openings – Are they square, level, and the right size for your ordered units? | ☐ | ☐ | |
29 | Sill plates / bottom plates – Are they pressure-treated where in contact with concrete? | ☐ | ☐ |
FIRE / SAFETY (Items 30–32)
These are non-negotiable – and often missed.
Item | Pass | Fail | Notes | |
|---|---|---|---|---|
30 | Fire-rated drywall – In garages, furnace rooms, and any space required by code – is the correct thickness specified? | ☐ | ☐ | |
31 | Insulation – Before it goes in, confirm the R-value matches your climate zone. | ☐ | ☐ | |
32 | Egress windows – In bedrooms, are the windows large enough for emergency escape? | ☐ | ☐ |
How to actually use this checklist
Step 1: Print it. (Or open it on a tablet.) Take it to the site.
Step 2: Walk through every room. Don't skip. Systematically check each room one at a time.
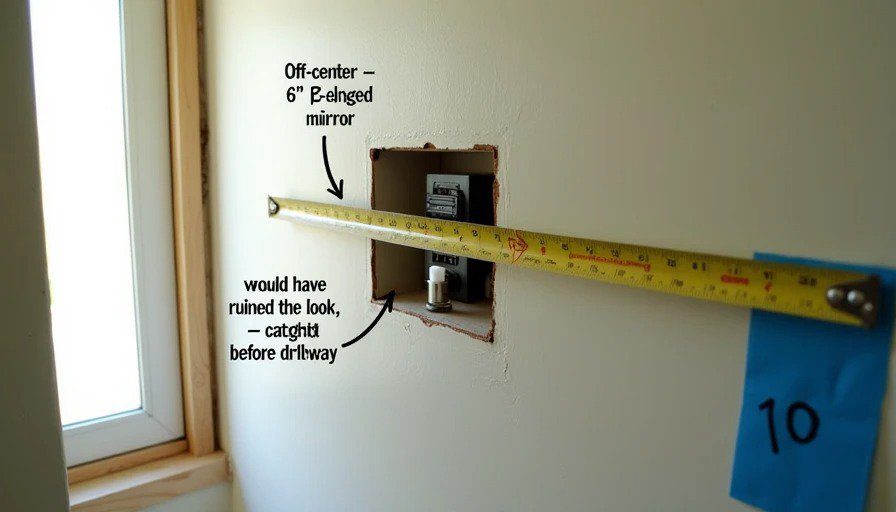
Step 3: Take photos. For every "Pass" and every "Fail," take a photo with a clear reference point. (A tape measure in the frame helps.)
Step 4: Mark the fails with painter's tape. On the actual wall, put a small piece of blue tape where an issue exists. Write the number (from this checklist) on the tape. This makes it physically obvious to the trades when they come back.
Step 5: Make a punch list. Send a simple table to your GC with the item numbers, descriptions, and photos. Give them a clear deadline for corrections.
Step 6: Schedule a second walkthrough. Before the insulation goes in, come back and check only the items that failed. Don't let drywall go up until you've signed off.
What this checklist doesn't include
This checklist focuses on what's visible and measurable before the drywall goes up. It doesn't include:
Design choices – Paint colours, tile patterns, or cabinet hardware. Those come later.
Final aesthetic inspections – Whether the room looks like the renderings.
Trade-specific details – For example, exact gas line sizing for appliances; that's for the plumber and your GC to verify.
But it does cover everything that will cost you significant money to change after the walls are sealed.
Did you do a pre-drywall walkthrough? What did you catch?
This is where I hand it over to you.
I've done this walkthrough on three renovations. Each time, I caught something I would have regretted:
On my first renovation, the electrician had placed the vanity light box 6 inches off-centre from the mirror we'd already bought. Caught it, moved it, no problem.
On my second, the HVAC supply register was exactly where the range hood was going to go. Rerouted it – took half a day, but we caught it before the drywall sealed it.
On my third, the plumber had sloped the shower drain the wrong way. The tile setter would have had to build a 2-inch mud bed to compensate. We fixed it in one morning.
Every one of those would have been a costly change order after drywall. Instead, they were a quick conversation and a minor adjustment.