Caulking kitchen counter joints is a small renovation task with a surprisingly large failure rate. The bead sits at the boundary between a countertop, backsplash, wall, or sink, so poor preparation can turn into swollen cabinets, stained drywall, or a callback from the plumber. Treat caulking kitchen counter work as a scheduled finish trade, not as a five-minute cleanup task after everyone else leaves.
The useful question is not simply which tube to buy. It is when to install it, what surface must be dry first, which trades need access, and how long the joint must remain undisturbed. If it is not on the schedule, it is not happening.
Put the Countertop Joint on the Renovation Schedule
The correct sequence depends on what is being sealed. A countertop-to-backsplash joint generally comes after the counter is firmly installed and after the backsplash material is complete. If the backsplash is tile, wait until the tile adhesive and grout have reached the product’s stated cure point. A joint between a sink and countertop belongs after the sink is set, leveled, clipped, and connected to the drain, but before the cabinet interior is packed with supplies.
For caulking kitchen counter work, reserve roughly 60 to 90 minutes for a typical 8- to 12-foot run. That includes removing old sealant, cleaning, taping, applying the bead, tooling it, and collecting waste. Add more time if the counter meets an uneven plaster wall or if silicone has bonded to painted drywall.
Your schedule should also identify the last trade that needs access. The plumber may need to tighten faucet hardware from below. The electrician may still need to install an under-cabinet receptacle or test a backsplash outlet. Sealing too early can force someone to cut through a finished joint, leaving a gap that is difficult to repair cleanly.
Materials to Stage Before the Installer Arrives
Stage a utility knife with a fresh blade, plastic scrapers, denatured alcohol or the cleaner specified for the surface, lint-free rags, painter’s tape, a caulk gun, and a damp finishing tool. Choose a kitchen-and-bath sealant labeled for countertop or sink use. A 100 percent silicone product usually provides strong water resistance and flexibility, while paintable acrylic-latex caulk is easier to paint but is generally less suitable for constantly wet sink areas.
Read the label rather than assuming every white tube performs the same way. Some silicone products release a noticeable odor during curing, and some stone surfaces can stain from incompatible sealants. For natural stone, verify that the product is labeled for that material. A standard 10-ounce cartridge commonly costs about $8 to $18; specialty colors, low-odor formulas, and stone-safe products can cost more.
Surface Preparation Controls the Result
Most caulking kitchen counter failures begin before the tube enters the gun. Remove loose material completely. Score both edges of the old bead with a sharp blade, pull away the strip, then scrape the remaining film without gouging laminate, finished wood, quartz, or painted drywall. If the old joint is moldy, do not simply cover it with new sealant. Clean the affected area and determine whether moisture has damaged the substrate.
The joint must be clean, dry, and free of grease. Kitchen counters collect cooking oil near the range and sink, and ordinary dish soap can leave a film. Use a compatible cleaner, wipe it away, and allow the area to dry fully. Portland moisture, an unvented dishwasher, or a recently mopped floor can extend drying time. Phoenix heat can make the surface dry quickly but can also cause a bead to skin over before it is tooled.
Tape both sides of the joint if you need a very straight edge. Leave a gap about one-eighth inch wide for a normal counter-to-wall connection. Do not tape across dust or loose grout; tape only improves the line after the joint itself has been prepared.
Apply a Controlled Bead Instead of Filling the Gap
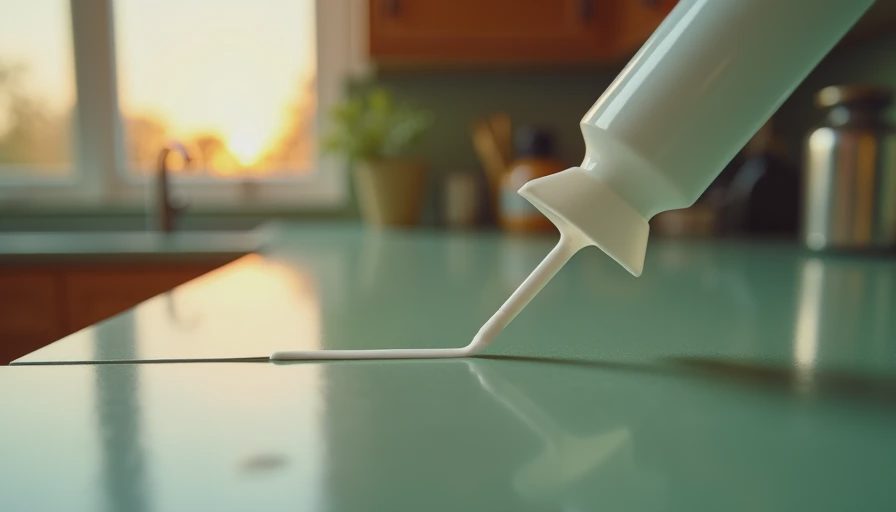
Cut the nozzle at a 30- to 45-degree angle, with the opening slightly smaller than the joint. Puncture the inner seal, load the cartridge, and test a short line on cardboard. This reveals whether the caulk gun is pushing smoothly or releasing a blob after you stop.
During caulking kitchen counter work, move at a steady pace and keep the nozzle in contact with both sides of the joint. A continuous bead is better than several overlapping dabs. On a 10-foot run, pause at an inside corner only if you can join the next section while the first bead is still workable. Too much product creates a wide ridge that collects crumbs and looks unfinished.
Tool the sealant promptly according to the label. Use one smooth pass with a damp finishing tool or a gloved finger if the manufacturer permits it. Avoid repeatedly dragging over the same spot. Pull the painter’s tape while the bead is still wet, folding it inward so excess sealant does not smear across the counter or wall. Keep a waste container beside you; walking across the room with sticky tape is how finished floors acquire a permanent stripe.
Cure Time Is a Trade Coordination Issue
A surface can feel dry while the material underneath is still curing. Many kitchen sealants form a skin within minutes but need approximately 24 hours before normal water exposure. Thick beads, cool rooms, high humidity, and poor ventilation can extend that time. Follow the cartridge instructions, especially around an undermount sink where water can sit against the joint.
During caulking kitchen counter work, tell the household exactly what “do not disturb” means. Do not wipe the bead, place a coffee maker against it, run water into a newly sealed sink, or slide appliances across the joint. If the kitchen must stay operational, schedule this task late in the day and arrange a temporary sink or meal plan. A $12 tube can create a two-day inconvenience if it is installed before the household is ready.
Do not use a fan aimed directly at wet silicone to force a faster cure unless the product instructions allow it. Excessive airflow can move dust into the bead, while heating the area can affect open time. Ventilate the room normally and keep the temperature within the label’s recommended range.
Inspect, Document, and Plan the Next Repair
The next morning, inspect the entire run under bright side lighting. Look for pinholes, separated edges, bubbles, gaps at corners, and places where the sealant pulled away from the backsplash. Pressing the joint should not be part of the inspection if it has not reached full cure. Photograph the finished seam before reinstalling backsplash accessories or loading the counter.
A clean repair usually requires cutting out the failed section rather than smearing a new layer over it. Silicone does not reliably bond to cured silicone, and a contaminated surface defeats even an expensive product. If the substrate is swollen, soft, or dark behind the joint, stop cosmetic repairs and address the moisture source first. That might mean correcting a plumbing leak, replacing damaged drywall, or adjusting a sink that is not sitting flat.
For caulking kitchen counter maintenance, add a six-month visual check to the household calendar, then inspect again after heavy seasonal humidity or a plumbing repair. A small separation caught early may require only removal and resealing. Ignored water entry can involve cabinet panels, flooring, and drywall, with costs that quickly move from $20 in materials to several hundred dollars in repairs.
The practical handoff is simple: identify the joint, confirm the preceding trade is finished, stage the correct sealant, protect the cure window, and record what was installed. Caulking kitchen counter work succeeds when it has an owner and a time slot, not when someone notices a gap while unpacking dishes. Which joint is on your renovation list, and which trade still needs access before you seal it?