Cement countertop sealing and finishing looks like the final short task on a renovation schedule. In practice, it is a small finishing system with several failure points: the slab may still be curing, the surface may hold construction dust, plumbing may not be ready, or another trade may damage the fresh sealer. Treat the work as a scheduled sequence, not as a Saturday afternoon wipe-on project. If it is not on the schedule, it is not happening.
Start with the substrate and the room
Before buying sealer, confirm what you actually have. A poured concrete countertop, a cement-based overlay, and a precast slab can require different preparation and compatible products. Ask the fabricator or installer for the mix type, cure date, recommended moisture condition, and approved sealer category. Do not assume a product designed for garage floors belongs on a food-preparation surface.
The countertop should be structurally stable, fully supported, and free from active cracking. Small surface pinholes can often be filled during honing, but a moving crack needs a repair decision before finishing. Check the underside near sinks and overhangs for thin areas, exposed reinforcement, or unsupported corners. A 12-inch overhang without proper support is a framing issue, not a sealing issue.
Room readiness matters just as much. Drywall sanding, cabinet adjustment, backsplash cutting, and appliance installation create dust or impact risk. Schedule those trades first. Ideally, cabinets are secured, the sink is test-fitted, and the faucet holes are confirmed before the final finish begins. If the countertop is being finished in place, protect nearby flooring and isolate the work area from circulation.
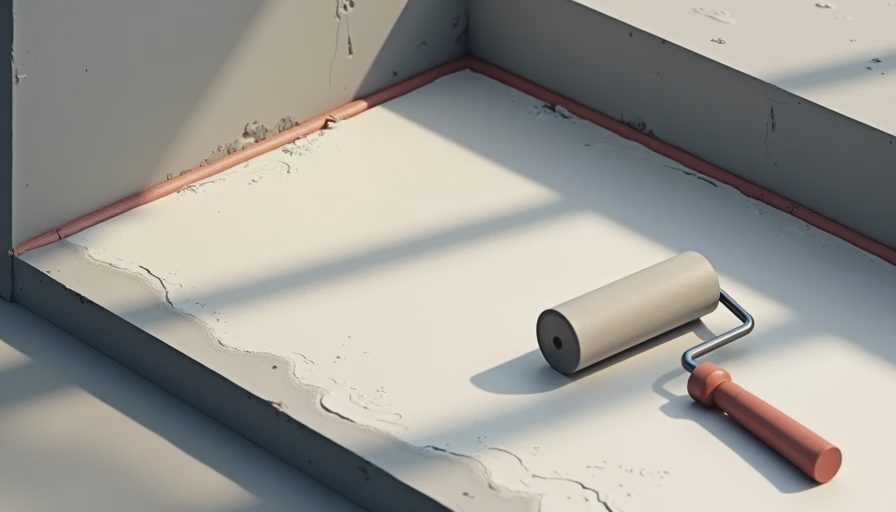
Build a realistic cure and finishing sequence
Cement countertop sealing and finishing should begin only after the material has reached the product maker's required cure condition. A surface can feel hard while retaining moisture below the skin. Sealing too early can trap moisture, create cloudy patches, or weaken adhesion. Cure time depends on mix design, thickness, temperature, humidity, and whether the piece was cast indoors or outdoors.
Put the sequence on the calendar in separate work blocks. Allow time for final shaping or honing, dust removal, drying, sealer application, flash-off between coats, and the final protection period. Many water-based products allow light use sooner than solvent-based systems, but neither category should be judged by touch alone. The technical data sheet controls the recoat and return-to-service timing.
A practical homeowner schedule might reserve one day for inspection and surface preparation, one day for the first finish coat, and another one or two days for additional coats and curing. Add a buffer of 24 hours before reconnecting plumbing if the sink area is vulnerable to splashes. That buffer is cheaper than removing a faucet, sanding a damaged edge, and repeating the finish.
Choose the finish around actual use
The right finish depends on how the counter will be used. A busy kitchen needs resistance to water, oils, coffee, citrus, heat from ordinary cookware, and repeated wiping. A bathroom vanity has different exposure but still needs protection around the faucet and backsplash. An outdoor counter faces ultraviolet light, temperature swings, and windblown grit, so an interior product is not an automatic choice.
Cement countertop sealing and finishing can produce a matte, satin, or higher-sheen appearance. Sheen affects maintenance and visibility: a glossy surface can make scratches and uneven polishing easier to see, while a matte surface may show oil marks until cleaned. Make a sample board with the same mix, pigment, honing grit, and sealer. Test coffee, olive oil, water, and a mild cleaner for several days before committing to the whole installation.
Do not mix product families casually. A penetrating sealer may be appropriate under one maintenance system, while a film-forming coating may be intended as the complete protective layer. Confirm compatibility between primer, color enhancer, topcoat, caulk, and adhesive. Record product names and lot numbers in the project file so a future repair does not become a guessing exercise.
The preparation day is where most outcomes are decided
On preparation day, remove dust with methods approved for the chosen product. Vacuuming with a suitable fine-particle filter is generally more useful than pushing dust around with a dry rag. Clean residue from corners, sink cutouts, and the underside of exposed edges. Mask walls and cabinets with enough width to protect them from rollers, drips, and accidental hand contact.
Inspect the surface under strong side lighting. Mark scratches, sanding swirls, pinholes, and dark moisture areas with removable tape. Take photographs before coating; they create a useful record if the appearance changes after curing. Confirm that the temperature and humidity are within the product instructions. Portland moisture and Phoenix dry heat can create very different drying schedules, even when the calendar says the same month.
Keep plumbing, electricians, and cabinet installers out of the area during the finish window. A plumber who needs to lean across a fresh counter can leave a permanent print or drag grit through the coating. If a trade conflict cannot be avoided, move the finishing date. The counter is not ready merely because the installer has an open afternoon.
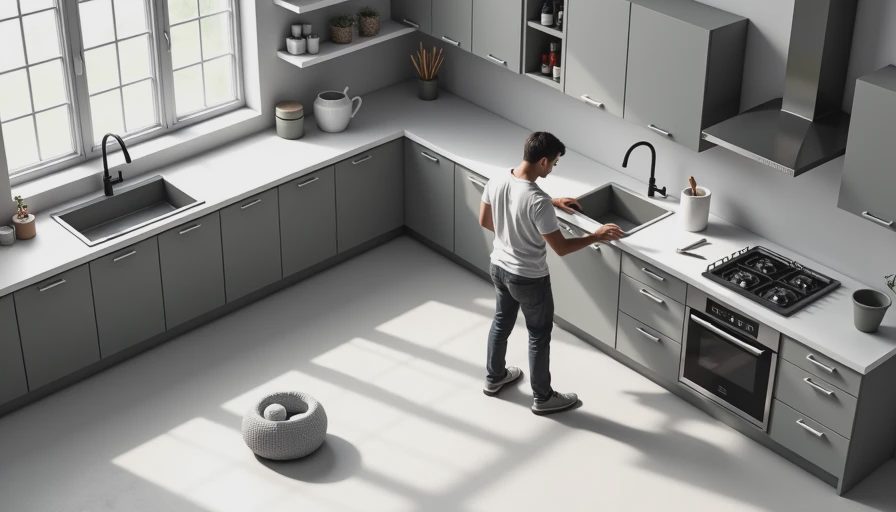
Apply, inspect, and release the surface in stages
Cement countertop sealing and finishing should be handled in thin, controlled coats rather than one heavy application intended to hide every defect. Follow the specified roller, pad, brush, spread rate, and edge technique. Heavy buildup at sink cutouts and front corners commonly creates runs, ridges, or slower curing. Keep a wet edge when the instructions require it, and stop if dust, insects, or unexpected moisture enters the work zone.
After each coat reaches its inspection point, use a bright light at a low angle. Look for holidays, bubbles, fisheyes, lap marks, uneven sheen, and edge runs. Do not automatically sand or recoat because the surface feels slightly different in one area. Compare the appearance with the product's stated cure stage and call the installer or manufacturer if the finish is cloudy, tacky, or soft beyond the stated window.
Release the counter only after the final cure period. Reconnect plumbing carefully, using clean tools and fresh protective pads. Do not place a microwave, stand mixer, cast-iron pan, or abrasive storage bin on the surface during the early protection period. Record the finish date, product system, and cleaning instructions on a label inside the sink cabinet.
Budget for protection and future maintenance
For a small countertop, professional preparation and finishing can add several hundred dollars; complex kitchens, repairs, edge work, and specialty coatings can push the finishing portion above $1,000. A DIY coating kit may cost roughly $100 to $300, but that price excludes dust control, sample testing, sanding equipment, respiratory protection, and the cost of correcting a failed application. The cheapest material is not the cheapest project if it delays the plumber or forces a replacement slab.
Use cutting boards, trivets, and nonabrasive cleaning tools after installation. Avoid leaving standing water around seams or sink edges, especially during the first weeks. Ask for the recommended cleaner rather than reaching immediately for bleach, abrasive powder, acidic descaler, or solvent. A maintenance coat, if the system requires one, belongs on the long-term schedule rather than being forgotten until the surface looks worn.
Closeout checklist for the project manager
Before signing off on cement countertop sealing and finishing, confirm five items. The slab is stable and dry enough for the selected system. The sample board matches the intended sheen and color. All dusty and impact-producing trades are complete. The final coat has reached its published return-to-service stage. The homeowner has written cleaning, repair, and maintenance instructions.
Also photograph the completed edges, sink cutout, backsplash joint, and any intentional variation in color. Natural cement surfaces can have movement and tonal differences that are part of the material, but documenting them prevents later confusion. Keep leftover product only if its storage instructions allow it, and write the opening date on the container.
Cement countertop sealing and finishing is manageable when every handoff has an owner and a date. The useful question is not simply whether the counter looks finished. It is whether the surface is cured, protected, documented, and safe for the next trade. If it's not on the schedule, it's not happening. What cure-time conflict or trade handoff is currently threatening your countertop deadline?