If you are figuring out how to clean painted walls before painting, treat the job as surface preparation rather than a quick wipe-down. Walls collect cooking grease, hand oils, dust, pet residue, smoke film, and cleaning-product buildup. Fresh paint sticks best when those layers are removed, repaired areas are dust-free, and the wall has enough time to dry. Put this work on the renovation schedule before you buy paint or book a painter. If it is not on the schedule, it is not happening.
The cleaning plan also depends on the room. A bedroom with ordinary dust needs a lighter process than a kitchen near a range hood. A bathroom may have soap film or mildew staining that requires separate handling. Start by identifying the wall condition, then gather supplies before moving furniture.
Build the wall-cleaning work package
Before opening a bucket, walk the room with a flashlight held at a low angle. Look for grease near switches, gray marks behind furniture, crayon, loose paint, nail holes, mildew-like spotting, and glossy patches. Record repairs on a simple room list. This prevents the common mistake of washing a wall and then discovering that a drywall patch still needs sanding.
For most painted walls, gather two buckets, warm water, a small amount of mild dish detergent, clean microfiber cloths, a cellulose sponge, a soft nylon brush, a step stool, painter's plastic, and clean towels. Keep a separate bucket for rinse water. A sponge mop can help with tall walls, but do not flood drywall or plaster. Excess water can soften joint compound, swell paper-faced drywall, and delay priming.
Plan roughly 30 to 60 minutes for a small bedroom and 90 minutes to two hours for a kitchen or open living area. Add another hour if walls need repairs. Move furniture at least three feet away where possible, cover flooring, remove outlet and switch plates only after turning off power at the electrical panel, and label hardware in a resealable bag.
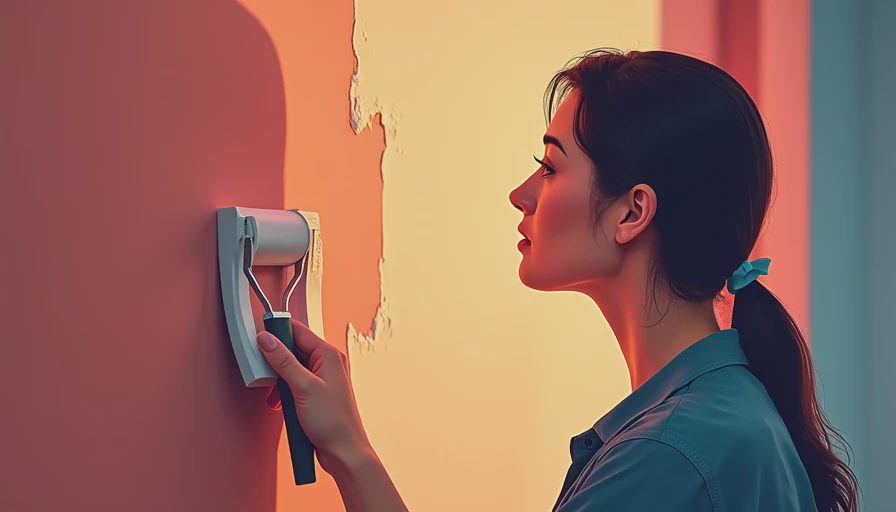
How to clean painted walls before painting, step by step
Step 1 is dry removal. Vacuum the wall with a soft brush attachment, working from ceiling lines down to baseboards. Use a dry microfiber cloth on corners, door trim, and textured surfaces. Dry cleaning first keeps loose dust from becoming muddy streaks.
Step 2 is a small test area. Mix warm water with a few drops of mild dish detergent. Test behind a door or near a baseboard. Wipe gently, then rinse with a clean damp cloth and dry the area. Stop if the existing paint softens, transfers color, or becomes unusually dull. Some older finishes are fragile, and aggressive cleaning can remove more than dirt.
Step 3 is controlled washing. Work in sections about three feet wide. Wash from the bottom upward to reduce visible dirty drips, using light pressure and a nearly wrung-out cloth. Rinse the cloth often. Follow each section with clean water, then dry it with a towel. Do not let solution sit around electrical boxes, seams, or damaged paint.
Step 4 is spot treatment. For fingerprints and ordinary scuffs, use the damp microfiber cloth first. A melamine sponge can remove stubborn marks, but it is mildly abrasive and can leave a lighter or shinier spot. Use it sparingly, never across an entire wall. For kitchen grease, a stronger household degreaser can work, but follow the product label and rinse thoroughly. Residue left behind can cause poor adhesion and uneven sheen.
Match the method to the room
In kitchens, concentrate on the wall behind the range, cabinet ends, backsplash edges, and the area near trash containers. Ventilation matters during both cleaning and painting. If the wall feels slick after washing, repeat the rinse rather than applying primer over residue. A kitchen cleaning pass often takes twice as long as a bedroom because grease hides in a thin, nearly invisible film.
In bathrooms, remove dust and soap film without soaking seams. Mildew-looking growth should not simply be painted over. Wear appropriate protection, improve ventilation, and use a labeled cleaner according to its instructions. Never mix bleach with ammonia or acidic products. If drywall is soft, stained through, or damaged around a plumbing area, pause the cosmetic work and resolve the moisture source first.
In bedrooms and living rooms, the main problems are dust, hand marks, and furniture rubs. A mild detergent solution is usually enough. For smoke odor or extensive staining, plan on a stain-blocking primer after the wall is fully dry. Climate changes the timing: Portland moisture can extend drying, while Phoenix heat may dry the surface quickly but can make cleaning solution evaporate before it lifts grime. Air movement is useful; blasting a fan directly at a wet wall is not.
Repairs, drying time, and primer timing
Cleaning is not complete when the wall looks clean. After the final rinse, wait until the surface is completely dry before sanding or priming. In a normally ventilated room, allow at least two to four hours. Dense humidity, cool temperatures, multiple washes, or absorbent patches can require overnight drying. A wall that feels cool or tacky is not ready for the next trade.
Once dry, scrape loose paint and sand rough edges. Fill nail holes and shallow dents with lightweight spackle, then sand the repair flush. Vacuum sanding dust and wipe with a barely damp cloth. Do not use a wet rag on fresh compound. Spot-prime bare drywall, joint compound, water stains, and glossy repaired areas. If the whole wall has inconsistent sheen or widespread stains, prime the entire wall for a more predictable finish.
Schedule cleaning before the painter's arrival, not on the same morning unless the room is small and dry. A reliable sequence is furniture removal on Monday evening, dry dust removal Tuesday morning, washing Tuesday afternoon, repairs Wednesday, sanding and vacuuming Thursday, and primer or finish paint Friday. That sequence gives each stage a place and exposes delays before they affect trim or flooring work.
Common failures and a better handoff
The failure I see most often is using one dirty bucket for the entire room. It spreads kitchen film onto otherwise clean walls. The second is scrubbing harder when a mark does not disappear. That can create a polished patch that reflects light after painting. The third is skipping the rinse because the wall appears clean. Detergent residue is invisible until the new coating fisheyes, crawls, or dries with a different sheen.
Before handing the room to the next person, check five points: walls are dry, repairs are flush, sanding dust is removed, loose paint is gone, and the floor is protected or cleared. Photograph repaired sections and note which walls received stain-blocking primer. A painter can then estimate materials and avoid repeating prep work.
If you are still asking how to clean painted walls before painting, the short version is dry dust removal, a mild controlled wash, a clean-water rinse, full drying, repair, sanding, and primer where needed. Put each handoff on the calendar, including the drying window. The finish depends less on heroic scrubbing than on keeping the sequence intact. What wall condition has delayed your project before: grease, moisture, old paint, or a repair that was not ready on time?