If you're mid-renovation and just spotted a patch of black mottling in the shower corner, you're not alone. Knowing how to clean shower mold correctly is one of those tasks that looks simple but has a specific sequence that decides whether you do it once or every month. As a homeowner acting as your own project manager, you need a process, not a random spray-and-scrub.
Why Shower Mold Needs a Plan, Not a Spray-and-Hope Approach
Shower mold is a symptom of moisture sitting too long on something it can eat. Soap scum, dead skin, and hard-water minerals are all food. Wiping away the dark stuff with a bleach cleaner removes the visible stain, but not the biofilm that keeps holding moisture against your grout and caulk. If you don't address cleaning, drying, and protecting, you'll be back at it in a few weeks.
In a bathroom renovation, mold can stain grout permanently and make caulk fail early. The right process costs an afternoon and about $20 in supplies.
The Exact Tools and Supplies You'll Need
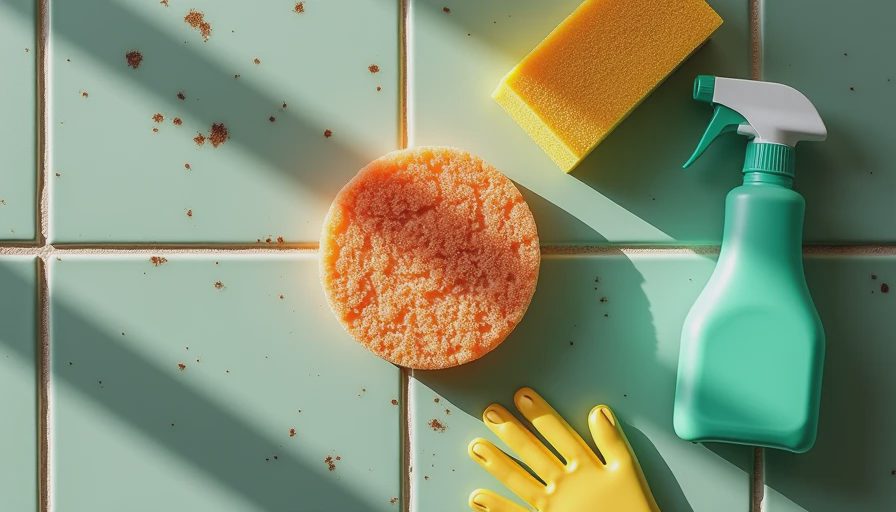
Before you start, gather a respirator mask rated N95 or higher, rubber gloves, a spray bottle, white vinegar, baking soda, hydrogen peroxide at 3%, a grout brush, a squeegee, and a commercial cleaner like Tilex Mold & Mildew. Plan on roughly $20 total. Also grab an old towel and a small fan. Most of these are already in your utility closet, so the only real expense is the commercial cleaner.
Step-by-Step: How to Clean Shower Mold in the Right Order
Here's the sequence I've refined after several bathrooms. Each step has a job, so don't skip ahead.
First, dry the shower completely. Mold cleaner works better on a dry surface because it isn't diluted by standing water. If the shower was used recently, let it dry overnight. Turn on the exhaust fan and open a window if you have one.
Second, apply the cleaner. For light mold, use white vinegar straight from the bottle. For heavy mold, use a commercial product like Tilex. Spray liberally on the affected areas, including caulk seams. Never mix vinegar and bleach — that creates chlorine gas.
Third, let it sit. Vinegar needs at least 30 minutes. Commercial cleaners need 10 to 15 minutes. The dwell time lets the active ingredient penetrate the porous surface. Scrubbing too early just moves mold around.
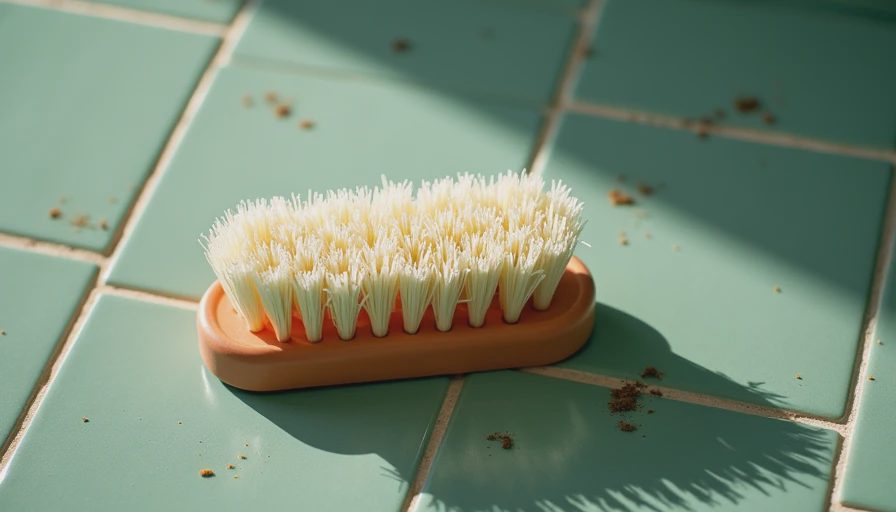
Fourth, scrub with a grout brush, focusing on edges and joints where mold clings. Then rinse with clean water and dry with a towel.
Fifth, keep the area dry for at least an hour. If you're doing this during a renovation, block out a half-day window when the shower won't be used.
What Not to Do: Five Mistakes That Spread Mold
A lot of advice makes things worse. Here are the mistakes I've seen in homeowner threads.
Don't use a power washer. It blasts water behind the caulk line and into the wall.
Don't scrub with a wire brush or steel wool. It scratches grout and leaves a rough surface that holds mold better.
Don't leave the room unventilated. The moisture you create during cleaning will just re-deposit on the walls.
Don't skip the drying step. If you clean and leave the shower wet, the mold has almost no recovery time.
Don't paint over mold. Kilz and similar primers don't solve the moisture problem, and the mold will bleed through later.
How to Keep Shower Mold From Coming Back
Once the shower is clean, set up a weekly routine. Keep a squeegee in the shower and use it after the last rinse. Spray the walls with a mild vinegar solution once a week and let it air dry. Check the caulk monthly for cracks and replace with 100% silicone caulk when needed. Reapply grout sealer every six months in high-moisture showers. This routine adds about five minutes to your post-shower habits.
If the tile is old and grout is crumbling, cleaning won't save it. Budget for regrouting or replacing the shower enclosure. That's a separate project, but the same moisture control principle applies.
When Mold Is a Bigger Problem
Surface mold is a homeowner problem. Deep mold is a contractor problem. If you see mold spreading up the wall, feel soft drywall behind the tile, or smell a musty odor that won't go away, stop cleaning and start investigating. A leak in the plumbing or the shower pan is likely feeding it from inside the wall. Proper fix means opening the wall, stopping the leak, replacing damaged material, and addressing the mold before you close it up. This is a real renovation task for a qualified trade, not a weekend DIY.
The Bottom Line: Clean It Right, Then Keep It Dry
If it's not on the schedule, it's not happening. That forum rule applies to shower mold maintenance as much as to ordering cabinets. After this deep clean, set a recurring reminder for a weekly squeegee and a monthly caulk check. Nine times out of ten, that's all you need to avoid pulling out the grout brush again.
Now that you know how to clean shower mold, the real work is keeping it from coming back. What's your own system? Drop your routine in the comments, especially if you've found one that works in a humid climate.