Curtain rods for corner windows look like a small finishing purchase until the drywall is complete, the trim is already installed, and you discover that two separate rods collide in the corner. On a renovation schedule, this item belongs earlier than most homeowners expect. The window dimensions, casing depth, nearby outlets, and curtain style all affect the hardware, and a mistake can create return shipping, patched holes, or a delayed final inspection.
The useful question is not which rod looks best. It is when to confirm the opening, who needs to verify it, and when to order hardware so installation does not interfere with painting or trim work. If it is not on the schedule, it is not happening.
Confirm the window condition before measuring
Do not take final measurements from rough framing. Wait until the window units are installed and the wall surface is close to its finished condition. A window opening can shift by an inch or more between framing, drywall, casing, and paint, especially when a remodel includes new insulation or furring strips.
The person measuring should record the width of each window, the distance from the inside corner to the glass, the depth of the window casing, and the distance from the top of the casing to the ceiling. Also note baseboard height, crown molding, radiator covers, return-air grilles, and any wall-mounted thermostat. These details determine whether the rods can sit above the trim or must use inside mounts.
For curtain rods for corner windows, measure both walls from the actual corner, not from an assumed 90-degree intersection. Older homes often have corners that are slightly open or tight. A five-degree difference can change the amount of clearance needed at the elbow or connector. Photograph the corner with a tape measure visible, then save the measurements in the project folder.
If the windows are not yet installed, put a measurement checkpoint on the schedule for the day after installation and another after drywall. The second check catches changes caused by trim thickness. This is a ten-minute task that can prevent a $150 to $400 custom-order mistake.
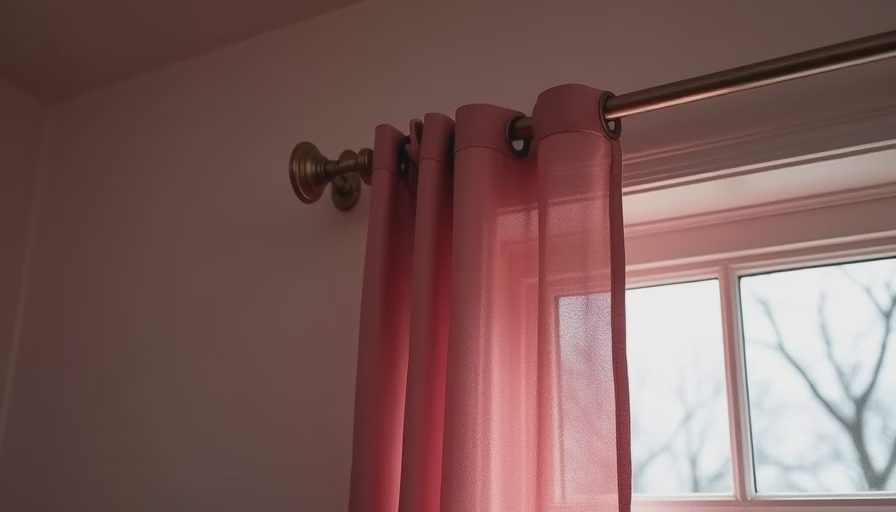
Choose the hardware type before ordering
There are three practical approaches. A connected corner rod uses an elbow, hinged joint, or custom bend so one curtain treatment turns the corner. This creates a continuous appearance, but the joint needs enough clearance for rings or grommets to pass through. A pair of independent rods meets near the corner. It is easier to source and replace, but the curtains can bunch awkwardly unless the overlap is planned. A ceiling-mounted track follows both walls and is often the cleanest solution when the corner is tight or the ceiling height is limited.
For curtain rods for corner windows, do not assume a standard adjustable rod will solve every geometry problem. Many adjustable rods have bulky end caps, telescoping seams, or brackets that occupy two to three inches of space. A curtain panel may hang correctly on the straight wall and still stop before reaching the corner because of the bracket.
Write down the curtain construction before selecting hardware. Rod-pocket panels need a clear, uninterrupted rod. Grommet panels need a connector that lets the grommets pass. Ring clips need bracket spacing that prevents the fabric from dragging. Blackout curtains are heavier than lightweight sheers, so the fasteners must reach framing or use an appropriate wall anchor rated for the load.
A basic adjustable setup may cost $40 to $120 per window pair. Heavy-duty rods and tracks commonly run $100 to $300. Custom-bent metal or made-to-measure systems can exceed $500 after fabrication and shipping. Put the product allowance in the renovation budget before ordering paint and trim accessories.
Assign the trade handoffs
The installer, trim carpenter, painter, and person handling window treatments each have a different responsibility. The window installer confirms the unit is square and operable. The trim carpenter confirms the casing profile and leaves the planned mounting area accessible. The painter completes the wall and trim finish before final hardware is mounted. The curtain installer, whether that is a specialist or the homeowner, verifies the finished surface and anchors.
Do not let the trim carpenter guess where brackets will go. Mark the proposed bracket centers on the wall with removable tape, then check that the marks do not overlap casing, electrical boxes, or plumbing. If the bracket lands over a stud, record that location. If it lands in drywall, select the anchor before drilling rather than improvising with a leftover plastic plug.
For curtain rods for corner windows, create one simple handoff note: window width, mounting height, corner angle, bracket locations, hardware model, curtain weight, and installation date. Give the note to anyone who touches the opening. This avoids the common failure where the painter removes a reference mark or the trim installer covers the only usable mounting surface.
The order deadline should be tied to the installation date. For stocked hardware, allow seven to ten calendar days for delivery and inspection. For custom rods or tracks, allow four to eight weeks, including drawing approval. Open the package immediately; a damaged elbow discovered on installation day can stop the entire room.
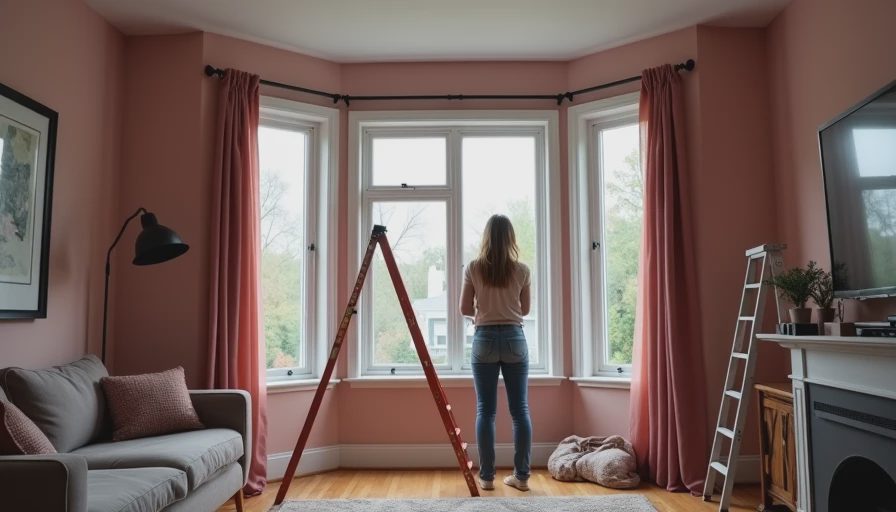
Schedule the order around the renovation
A workable sequence is straightforward. During rough framing, identify whether blocking is needed above the windows. Before drywall, photograph studs and blocking with a tape measure in the frame. After drywall, take preliminary dimensions. After casing is installed, take final dimensions and confirm the corner angle. Order stocked hardware at least two weeks before the target installation. Order custom hardware after the manufacturer approves the measured drawing.
Install the rods after the final coat of paint has cured and after dusty flooring, sanding, and electrical work are complete. In most rooms, that means hardware is a late-stage installation, usually during the same visit as towel bars, cabinet pulls, and other wall accessories. Installing early exposes the finish to ladders, drywall dust, and careless tool handling.
For curtain rods for corner windows, schedule a dry fit before drilling permanent holes. Set the rods on the brackets, bring the curtains into the corner, and test the full travel. Confirm that the panels clear the window handles and that the curtains do not block a casement sash. Mark final holes only after this test.
Use a practical acceptance check
At installation, check five things in order. First, verify every bracket is tight and level. Second, confirm the anchors are appropriate for the wall and load. Third, open and close each window without catching the fabric. Fourth, move each panel across the corner and inspect the joint. Fifth, look from the street or adjacent room to confirm that the curtains close fully where privacy is required.
A corner connector that works with empty panels can fail once lined curtains are installed. Test the actual fabric, including any tiebacks or clips. If the rod flexes, add a center support on the straight run, but do not place that support where it blocks the curtain's travel.
For curtain rods for corner windows, photograph the completed installation and record the hardware model, anchor type, and spare parts location. This matters when a bracket loosens two years later or a curtain is replaced with a heavier panel. Keep the packaging label if the manufacturer offers replacement connectors by series.
Post-mortem: the mistakes that cost the most time
The most common failure is ordering based on rough-opening dimensions. The second is measuring each wall without checking the corner angle. The third is choosing hardware before deciding whether the curtains need to pass through the corner. The fourth is mounting into finished drywall without locating blocking or selecting a load-rated anchor. The fifth is installing before sanding and painting are complete.
A homeowner can usually avoid all five by creating one measurement sheet and assigning one person to own the final numbers. Do not rely on a text message that says “the rods should fit.” Attach the marked photo, the dimensions, and the approved product drawing to the schedule.
Curtain rods for corner windows are not a glamorous renovation milestone, but they are exactly the kind of small procurement item that creates a late surprise. Confirm the geometry, order against the real lead time, and make the installation a scheduled handoff rather than an afterthought. What has caused the most trouble on your project: the corner angle, the trim depth, or the hardware lead time?