A shower door removal tool is useful when an old enclosure is holding up tile work, waterproofing repairs, or a bathroom inspection. The mistake is treating removal as a quick Saturday task. A framed door can hide screws, silicone, sharp aluminum edges, and glass under tension. A frameless panel can be heavier and less predictable than it looks. Plan the removal like a small demolition phase, with the next trade scheduled only after the opening is safe, dry, and clear.
Before buying anything, identify the door type. Framed bypass doors usually need a drill or screwdriver, utility knife, plastic pry tools, suction handles, and a second person. Frameless systems often require glass suction cups, a rigid support surface, and careful control of the panel while hinges are released. A shower door removal tool kit can reduce improvisation, but no tool replaces a helper. Tempered glass does not crack gradually like ordinary window glass; it can suddenly break into many small pieces if struck or twisted.
Build the removal schedule before opening the bathroom
Put the work on a simple two-day schedule. Reserve the first morning for protection and removal, the afternoon for cleanup and inspection, and the following day for the tile setter, waterproofing contractor, or drywall repair. If the replacement door is already ordered, confirm its measurements and installation requirements before demolition. Some installers need finished tile, a level threshold, and fully cured grout before they will return. A typical replacement sequence can add three to seven days if those conditions are not ready.
Stage the room before touching hardware. Remove bottles, bath mats, and loose shelves. Cover the tub or shower base with a thick moving blanket, then add a rigid sheet of plywood or a manufactured tub protection board over areas where tools could fall. Protect the bathroom floor with a waterproof drop cloth, not just thin painter's plastic. Keep a cardboard appliance box nearby as a temporary glass container, but never place loose panels where children, pets, or another trade can bump them.
The useful tool list is specific: two rated suction cups for glass handling, a sharp utility knife with spare blades, a cordless drill with the correct bits, hand screwdrivers, plastic wedges, work gloves, eye protection, and painter's tape. A shower door removal tool marketed as a pry bar should not be used directly against finished tile. Metal leverage can chip a tile edge or crack grout that the installer expected to preserve.
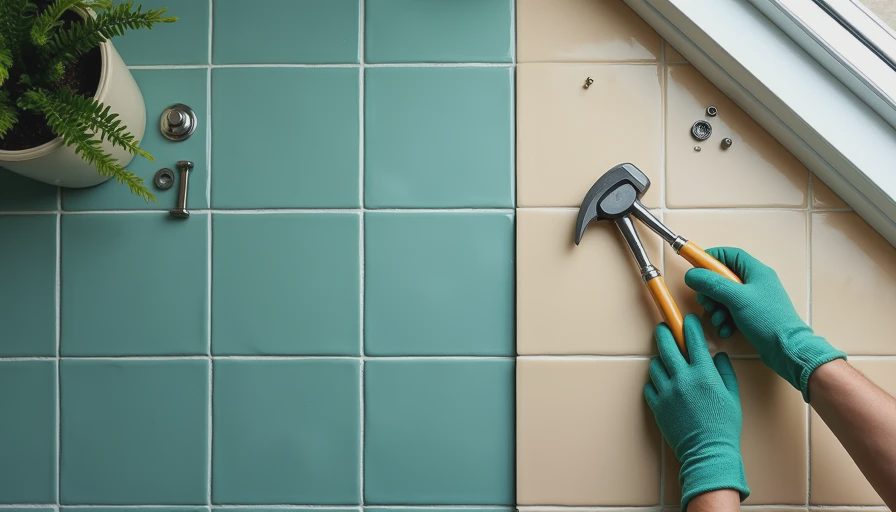
Remove framed doors in a controlled sequence
Start with the sliding panels. Many framed bypass doors lift upward into the top track and then swing out at the bottom. Do not pull sideways first. Stand inside the tub only if the base is stable and dry; otherwise work from outside with a helper controlling the panel. Carry each panel vertically and place it flat on a protected surface with the edges supported. Do not lean glass directly against a wall or on bare concrete.
Next, remove the top track, side jambs, and bottom track. Run a utility knife along both sides of every silicone joint before loosening screws. This cuts the bond instead of forcing the frame against the tile. If screws are corroded, use penetrating oil sparingly and allow time for it to work. A drill with a clutch set low is safer than high speed, which can strip the head and turn a five-minute removal into an hour of extraction.
Once the frame is off, scrape remaining silicone with a plastic razor or purpose-made adhesive scraper. Work at a low angle and change blades when they drag. A shower door removal tool with a broad plastic edge is appropriate for residue; a flat steel chisel is not. Photograph hidden screw holes and any cracked grout before the opening is covered. Those photos help determine whether the next trade needs a localized repair or a larger tile and waterproofing inspection.
Frameless glass needs more planning than force
Frameless panels commonly attach with two or more hinges, clips, or channels. Measure the panel width and estimate its weight before removal. A wide glass panel may require two or three adults, especially if the threshold is narrow. Assign one person as the lead handler. That person gives every movement instruction while the others support the glass. Nobody should remove a hinge screw while the panel is unsupported.
Apply painter's tape to the glass near hardware, not as structural protection but as a visual warning. Cut silicone around hinges and clips with a fresh blade. Support the panel on padded sawhorses or a purpose-built glass rack before loosening the final attachment. Suction cups should be rated for the load, clean, and placed on clean glass. They are handling aids, not a substitute for carrying support.
If a panel is cracked, badly flexed, or stuck in a channel, stop and bring in a glass contractor. Breaking it intentionally creates sharp fragments and can damage the shower base, tile, or plumbing fixtures. The cheapest safe choice may be a professional removal charge of roughly $150 to $400, depending on access and disposal. That cost is smaller than replacing a damaged tub or repairing a cut hand.

Inspect the opening before scheduling the next trade
After removal, do not immediately book the tile setter. First inspect the substrate. Look for soft drywall, swollen cement board, loose tile, rust staining, open fastener holes, and missing sealant at corners. A few empty screw holes can often be repaired during surface preparation, but damp material behind the jamb deserves attention before new trim covers it. Take close photographs and write down the measurements while the opening is exposed.
Run a straightedge across the threshold and vertical jambs. Record gaps larger than about one-eighth inch over a short span, because a replacement enclosure may need shims or a different installation detail. Check that the shower base drains correctly and that the door swing will not conflict with a toilet, vanity, or towel bar. This is where a five-minute field check can prevent a second removal after the new glass arrives.
Silicone residue can take 30 to 90 minutes to remove from a typical enclosure, longer if several layers were applied. Let the surface dry fully before patching. If water entered the wall, drying can take several days in a poorly ventilated bathroom. Use an exhaust fan and a dehumidifier, but do not close the wall simply because the surface feels dry.
The post-mortem that keeps the project moving
The common failure is scheduling demolition and installation on the same day. A homeowner removes the door at 9 a.m., discovers damaged tile at 10 a.m., and then waits a week for a repair while the bathroom remains exposed. A better sequence is removal, inspection, repair decision, surface preparation, and only then final installation. If a shower door removal tool saves 30 minutes but the inspection is skipped, it has not saved the project.
Write the handoff notes for the next trade. Include the opening width at the top, middle, and bottom; the height at both sides; the threshold condition; the date silicone was removed; and photographs of any questionable area. State whether the room is ready for tile repair, waterproofing review, or measuring for new glass. If the installer has a required minimum cure time for grout or sealant, put that date on the schedule instead of relying on a text message.
Keep the removed hardware in a labeled box until the project is complete. Clips and screws can reveal the original mounting pattern, and a replacement installer may need one as a reference. Dispose of broken glass through a local transfer station or contractor who accepts it. Wrap fragments securely and label the package; never place exposed glass in a regular trash bag.
Final buying decision and project handoff
Buy the shower door removal tool based on the enclosure you actually have, not the product photo. For a framed unit, a plastic scraper, quality knife, drill bits, and protective equipment usually matter more than a specialized lever. For frameless glass, rated suction cups and padded supports matter most. A basic preparation budget is often $40 to $100; professional removal can be several hundred dollars when access, weight, or disposal is difficult.
Before the next appointment, confirm four items: the opening is free of loose hardware, the tile and substrate have been inspected, the room is dry, and the installer has current measurements. Add each item to the calendar with an owner and a completion date. If it is not on the schedule, it is not happening. What did your own enclosure reveal after removal: hidden water damage, stripped screws, or a clean opening ready for the next trade?