A lexan patio roof looks like a straightforward weekend upgrade until the material arrives, the framing is not ready, and the weather turns against you. Lexan is a common trade name for polycarbonate sheet, a lightweight plastic panel used for patio covers, carports, greenhouse-style roofs, and covered walkways. The material is easier to handle than glass, but a successful project still depends on measurements, permits, slope, fasteners, delivery timing, and coordination with the installer.
This is a project-management problem before it is a product-selection problem. If the posts are not plumb, the ledger is not properly attached, or the panels arrive after the crew is booked, the schedule slips quickly. If it's not on the schedule, it's not happening.
Decide what the roof must do
Start by writing down the job requirements before comparing panel colors. A lexan patio roof can block direct rain while still admitting daylight, but different panels handle heat, glare, privacy, and impact differently. Clear sheets provide the most light and usually the least shade. Bronze or tinted sheets reduce brightness and can make a south-facing patio more comfortable. Opal or translucent panels provide softer light and more privacy, although the patio can feel darker underneath.
Measure the covered area in both directions, then record the proposed roof slope and every edge that needs flashing. Do not order only by square footage. Panels are sold in fixed widths and lengths, and the framing layout determines where seams land. Add the manufacturer’s required overhang and account for thermal movement. Polycarbonate expands and contracts noticeably with temperature, so oversized holes, compatible washers, and the correct fasteners are not optional details.
A practical planning sheet should include the roof footprint, panel thickness, panel profile, support spacing, gutter location, downspout route, flashing pieces, sealants, and fastener count. Keep the product data sheet in the project folder. The installer, inspector, and insurance company may all need to know what was installed.
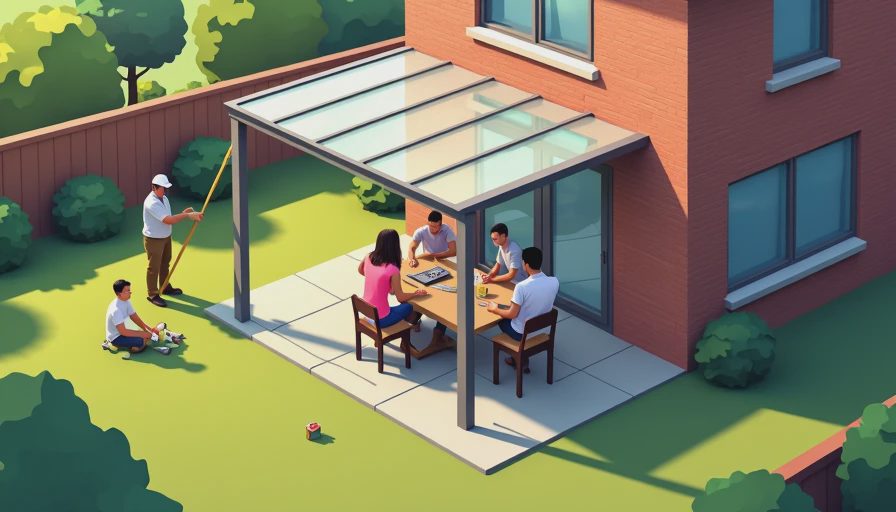
Choose panels and framing together
The phrase lexan patio roof can describe several different systems. Corrugated sheets are relatively inexpensive and simple to install, while multiwall panels offer better insulation and a more finished appearance. Solid polycarbonate is tougher and visually closer to glass, but it is heavier and often costs more. A basic corrugated project might use $8 to $18 per square foot in materials, while a more substantial multiwall or solid-panel system can reach $15 to $35 per square foot before labor and structural work.
Those figures are planning ranges, not bids. A small roof may have a higher per-square-foot cost because flashing, delivery, and setup are spread over less area. In a cold, snowy region, the structural design can cost more than the panels. In coastal or hurricane-prone areas, attachment details and permit requirements deserve early review. In Phoenix, heat and ultraviolet exposure affect comfort and material choice; in Portland, drainage, moss, and persistent moisture affect the detailing and maintenance plan.
The roof covering cannot compensate for weak framing. Decide whether the existing ledger, beams, rafters, and posts can support the new load. A structural contractor or engineer may be needed when the patio is attached to the house, the span is large, or the existing structure has rot. Do not let a panel delivery become the first inspection of the frame.
Build the schedule backward from installation
For a typical small lexan patio roof, allow one to two weeks for measurements, product selection, and a written quote. Allow another two to six weeks for common panels and trim, with longer lead times for unusual colors, custom lengths, or special glazing systems. Permit review can add several days or several weeks depending on the local department and the complexity of the attachment.
A workable sequence is simple. First, verify setbacks, permit needs, utility conflicts, and drainage. Second, finalize the framing drawing and panel takeoff. Third, submit the permit and order materials only after dimensions are checked. Fourth, schedule demolition or site preparation. Fifth, install posts, beams, ledger, rafters, flashing, and gutters. Sixth, install panels after the frame passes its required inspection. Finally, clean the surface, test drainage, and photograph the completed work for your records.
Never schedule the roofer for the same week that the panels are expected to arrive unless the supplier has confirmed stock and delivery. Put a three- to five-day buffer between delivery and installation. Inspect every sheet immediately for cracks, crushed ends, wrong dimensions, and missing accessories. Photograph the labels and any damage before signing for the shipment.

Handle permits, water, and insurance early
A lexan patio roof attached to a house can change how water leaves the building and how loads transfer into the wall. Local rules may treat it as an alteration, patio cover, accessory structure, or roof extension. The exact classification depends on the jurisdiction, dimensions, setbacks, and attachment method. Call the building department before ordering materials, and ask what drawings, inspections, snow-load information, and property-line clearances are required.
Water management deserves its own drawing. Show the roof edge, gutter, downspout, splash zone, and where water will discharge. A downspout that empties beside the foundation can create a new basement or crawl-space problem. Flashing at the wall connection must direct water outward, not trap it behind the panel system. This is also the point to confirm whether the existing home roof needs repair before the patio cover hides that area.
Insurance is not a substitute for code compliance. After the project is complete, send your insurer the permit closure, paid invoice, photos, and product information if requested. Ask whether the added structure should be reflected in your homeowners policy’s other-structures coverage and whether its value is included in replacement-cost calculations. A detached or unusually expensive structure may need a specific coverage discussion. Damage from a covered event and damage caused by poor maintenance are treated differently, so retain inspection and repair records.
Prevent the common post-installation failures
Most problems appear at edges and transitions rather than in the middle of a panel. Inspect the wall flashing after the first heavy rain. Look for drips at fasteners, pooled water at the low edge, movement in the frame, and panels that have started rubbing against screws. Check gutters for construction debris and confirm that downspouts are secured.
Clean polycarbonate with mild soap, clean water, and a soft cloth. Avoid abrasive pads, harsh solvents, and pressure-washer tips held close to the surface. Inspect sealants annually and replace failed washers or cracked trim before water reaches the framing. Do not drill extra holes casually; follow the product instructions for expansion clearance and support spacing.
A realistic closeout file should contain the permit, approved drawing, panel warranty, framing invoices, installer contact information, photos before the panels were covered, and the date of each maintenance check. That file helps with future repairs, resale questions, and insurance conversations.
Final procurement checklist
Before placing the order, confirm five things in writing: the exact panel profile and thickness, the required framing spacing, the compatible screws and washers, the delivery date and damage-claim procedure, and the permit path. Then confirm that the crew has the ladder access, weather window, tools, and time reserved.
The best lexan patio roof projects are not rushed because the visible work is only the final stage. The useful work happens earlier: measuring twice, resolving drainage, matching the frame to the panel system, and leaving buffer time for inspection and delivery. Treat those tasks as schedule dependencies rather than casual preparation, and the cover is far less likely to become a mid-project repair.
Before you order, what is the biggest unresolved item on your project schedule: structural support, permit approval, panel delivery, or drainage?