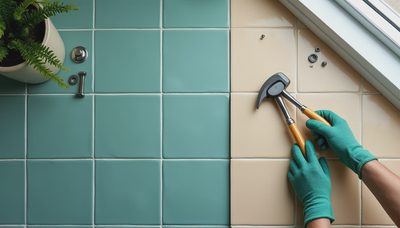
A renovation repair can look small on the scope and still disrupt three trades. Wood filler hardener is one of those materials that matters less for its shelf space than for its timing. If you are repairing a damaged door jamb, porch post, stair tread, or window sill, the hardener determines when the patch can be shaped, sanded, primed, and painted. If it's not on the schedule, it's not happening.
The first question is what kind of damage you are actually fixing. A few nail holes need ordinary premixed filler. A soft section of exterior trim, a stripped hinge screw, or a deep gouge needs a product designed to cure into a stronger mass. Some systems use a separate catalyst or cream hardener, while two-part epoxy products use resin and hardener mixed in a specific ratio. Treating them as interchangeable is how a simple patch becomes a second trip to the hardware store.
Choose the repair system before ordering materials
Wood filler hardener is appropriate when the repair needs more strength or depth than standard filler can provide. Common examples include damaged cabinet edges, missing corners on interior trim, shallow rot after the soft wood has been removed, and screw holes that need to hold new hardware. It is not a substitute for structural lumber, a sistered joist, or replacement framing. If a porch beam is soft through its core, stop and address the underlying water problem before filling anything.
For small interior repairs, a one-part solvent-based filler can be simpler because there is no mixing window. Products such as Minwax High Performance Wood Filler use a separate hardener and are intended for deeper repairs than ordinary water-based filler. Two-part epoxy systems, including products sold for marine, automotive, or structural wood repair, can offer more working time or flexibility depending on the formula. Read the label rather than assuming that a larger package is stronger.
Record three details in your project log: the product name, the mixing ratio, and the minimum cure time before sanding. Also record whether the repair is inside or outside. Exterior exposure, direct sun, cold temperatures, and high humidity can all change the workable window. Portland moisture and Phoenix dry heat are not the same scheduling environment.
Plan the repair around the trade sequence
A filler repair usually belongs after demolition and drying, but before finish painting and final hardware installation. The sequence should look like this: remove loose material, correct the moisture source, clean the cavity, apply the repair compound, shape it after the stated cure time, sand it, prime it, and then complete the finish coat. Do not schedule the painter for the same morning unless the product label gives a reliable short cure time and the room conditions support it.
Wood filler hardener often has a limited pot life after the two components meet. You may have only a few minutes to combine, apply, and roughly shape the material. That means the patch area should be prepared before opening the container. Have a disposable mixing board, two putty knives, gloves, a scrap of cardboard for testing, and the correct solvent or cleanup method ready. Stopping to find sandpaper while the compound is curing is a preventable coordination failure.
For a typical door-jamb repair, allow 30 to 45 minutes for preparation, 10 to 20 minutes for mixing and application, and at least several hours before sanding unless the label says otherwise. A larger exterior cavity can require overnight curing. Put the sanding task on the next workday, not in the same calendar block as application. That small change protects the schedule when the patch remains slightly soft in the center.
Mixing and applying without creating a second defect
Before mixing wood filler hardener, measure the damaged area and estimate the amount required. Mix a small batch first. A golf-ball-sized amount is easier to control than a large mound that starts curing before you reach the far edge. Use the manufacturer’s ratio exactly; adding extra hardener does not reliably make the patch stronger or faster. It can leave the material brittle, uneven, or difficult to sand.
Push the compound into the cavity instead of merely spreading it across the surface. Deep repairs are usually better completed in stages, with each layer allowed to cure as directed. Slightly overfill the final layer so you can plane or sand it flush. Keep the surrounding finished wood protected with painter’s tape, but remove the tape before the compound fully hardens if the product tends to bond aggressively.
Wear the protection listed on the label, provide ventilation, and keep solvents away from ignition sources. A disposable tool is often cheaper than trying to rescue a good brush or container. Mark the open time on your phone when mixing begins. That timer is more useful than guessing based on how the surface feels.
The sanding and inspection checkpoint
Do not judge the repair only by its color. Run a straightedge across the patch and use your fingertips to find a ridge or hollow. Sanding too early can pull partially cured material from the cavity. Sanding too late can turn a ten-minute shaping job into an hour of aggressive work, especially with a hard epoxy or solvent-based repair.
Start with the abrasive recommended for the product, then move to a finer grit suitable for the finish. For painted trim, a common progression is coarse shaping followed by medium and fine smoothing, but the exact grits depend on how much material was applied. Vacuum the dust, wipe the surface as directed, and inspect under the same lighting the finished room will use. A patch that looks flat in dim work light can show a shadow under a bright window.
Before priming, confirm that the repair is hard through its center and that no edge is lifting. If you can dent it with a fingernail, delay the next trade. Wood filler hardener has done its job only when the repaired area can survive normal sanding and the planned finish.
Primer, paint, and the handoff to finish work
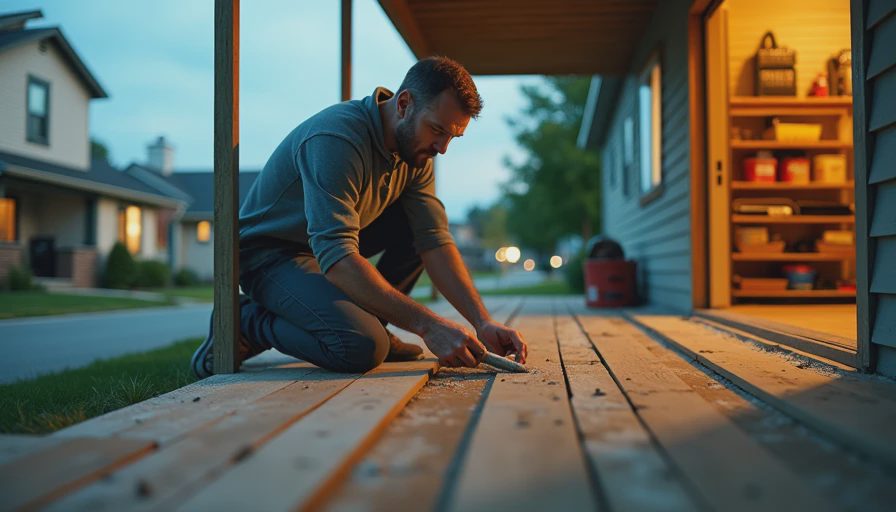
A hardened patch can still flash through paint if it absorbs finish differently from the surrounding wood. Seal repaired areas with a compatible primer before the finish coat. For interior trim, a quality acrylic or alkyd primer may be appropriate depending on the filler and existing coating. Exterior repairs need an exterior-rated primer and paint system, plus attention to caulking and water management around the repair.
Give the painter a written handoff: product used, application time, cure time, sanding status, primer used, and any areas that remain under observation. This is more useful than saying the patch is ready. If a cabinet installer, trim carpenter, or painter is arriving next, include photographs with a ruler beside the repair. The next trade can spot a low area before carrying tools into the room.
Budget roughly $15 to $35 for a small hardener-based filler kit, with larger epoxy repair kits often costing $30 to $70 or more. Add disposable gloves, mixing surfaces, abrasives, primer, and possible replacement trim. The cheapest material is not the cheapest repair if it creates a return visit.
A short post-mortem from the schedule
The failure pattern is familiar: a homeowner fills exterior trim on Friday afternoon, assumes it will be ready Saturday morning, and books painting before checking the cure conditions. Overnight humidity keeps the center soft. The painter arrives, sands through the edge, and the repair must be remixed. The resulting delay can cost a half-day labor minimum, often $150 to $400 depending on the trade and location.
The better process is to finish demolition on Thursday, confirm the area is dry, apply the patch Friday morning, inspect it Saturday, and prime only after the straightedge and fingernail tests pass. If rain, cold, or poor ventilation threatens the cure window, move the repair earlier or move the painter later. Wood filler hardener is a small line item, but it controls the handoff.
Before you close the task, answer four questions: Is the underlying moisture or movement fixed? Is the repaired material fully cured? Has the surface been sanded and primed? Does the next trade have the product and timing information? Put those answers in the renovation schedule. What repair has created the biggest unexpected delay in your project, and how did you rebuild the sequence afterward?