
A 2 way light switch wiring diagram is often the first search a homeowner makes after discovering that one ceiling light needs to work from two locations. In US electrical terminology, this setup is usually called a 3-way switch circuit. The naming difference matters when ordering parts, discussing the work with an electrician, or preparing an inspection checklist. Before opening a wall, confirm the circuit type, existing cable route, box locations, and local permit requirements.
This is a planning guide, not a substitute for an electrical license or a site inspection. Turn off the correct breaker, lock out the panel when possible, and verify that conductors are de-energized with an appropriate tester. A switch box can contain more than one circuit, so never rely only on the switch position or a label written years ago. If the wiring does not match the expected layout, stop and document it for the electrician.
What the diagram is actually showing
A typical 3-way arrangement uses two 3-way switches to control one light from two locations. Each switch has one common terminal and two traveler terminals. The common terminal is usually a different color from the travelers, but terminal colors and device designs should be confirmed against the manufacturer instructions. The circuit also needs an equipment grounding conductor, and the neutral is handled according to the particular cable route and code requirements.
Search results frequently use the phrase 2 way light switch wiring diagram even though a US hardware store may list the device as a 3-way switch. Do not buy two ordinary single-pole switches because the labels look similar. A single-pole switch is designed for one control location; a 3-way switch has no simple on-or-off marking and is designed to change the path between travelers.
Before scheduling rough-in, create a one-page circuit record containing the breaker number, panel location, room name, fixture location, switch locations, cable type, and planned box depth. Photograph the open framing from several angles. Include a tape measure in one photo so future reviewers can estimate spacing. This record can save an electrician 30 to 60 minutes of exploratory work after drywall is installed.
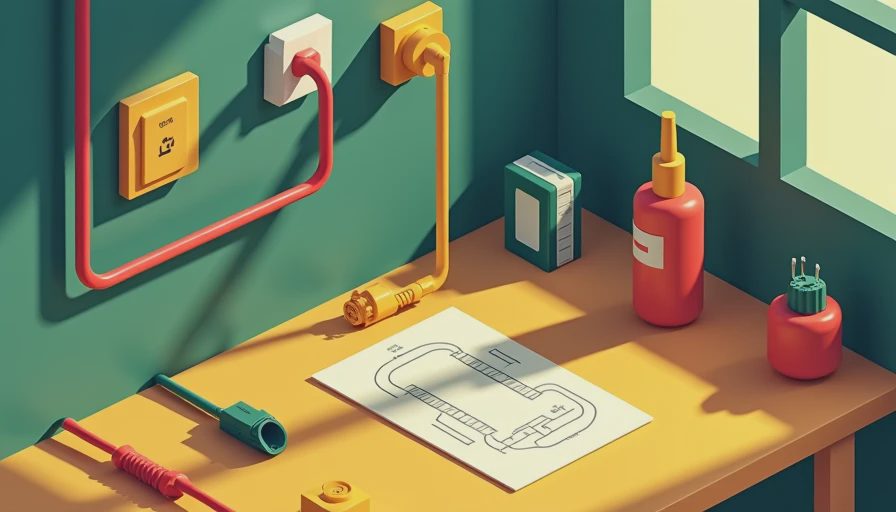
Map the renovation before any wire is pulled
The most common project failure is not a confusing terminal; it is a late change to the room layout. A door swing changes, furniture blocks the switch, or a new vanity moves the light location by 18 inches. Mark the finished wall surface, trim, cabinets, and ceiling height before deciding where boxes go. A standard switch height that works in an empty room may conflict with a backsplash, wainscoting, or built-in shelving.
Use this sequence during the planning meeting:
- Mark both control locations on the framing and finished-floor plan.
- Mark the fixture centerline and identify whether the ceiling is open or already closed.
- Confirm the cable path does not cross planned plumbing, ductwork, blocking, or future cabinet screws.
- Reserve time for the electrician to install boxes, pull cable, make up devices, and test the circuit.
- Add inspection and drywall-repair dates to the renovation schedule.
If the electrician is roughing in on a Tuesday, do not schedule insulation for the same morning. Leave at least one working day for corrections, especially when the walls include fire blocking or sound-control assemblies. If it is not on the schedule, it is not happening.
How to read a 2 way light switch wiring diagram
Read the diagram as a circuit path rather than as a picture to copy blindly. Identify where power enters, where the light is positioned, and where the cable travels between the two switch boxes. Then identify each common connection and traveler connection. The physical arrangement can vary, so a diagram that assumes power enters the first switch may not match a house where power enters the ceiling box or the second switch.
A reliable review asks four questions: Where is the incoming line? Where is the load going to the fixture? Which conductors serve as travelers? Where are neutral and ground terminated? The answer must be supported by the actual cable and box layout, not by wire color alone. Older work can contain faded insulation, repurposed conductors, missing grounds, or junctions hidden behind an inaccessible surface.
When comparing a 2 way light switch wiring diagram with the proposed rough-in, check that the boxes are accessible, approved for the number of conductors, and placed at a consistent height. Box-fill limits are real: adding multiple cables, a dimmer, and grounding conductors can require a deeper or larger box. A crowded box is not a cosmetic issue; it can create heat, damaged insulation, and difficult maintenance.
Materials, timing, and cost checkpoints
For a straightforward open-wall installation, materials might include two 3-way switches, an approved ceiling box, switch boxes, cable or conduit required by the local method, wire connectors, cover plates, and a listed fixture. Basic devices may cost a few dollars each, while a quality dimmer or smart control can cost $25 to $80. A deeper box may add only $3 to $10, but changing it after drywall can create a $100 to $300 repair visit.
Labor often depends more on access than on the switches themselves. A short open-framing run may take a few hours, while finished plaster, masonry, attic insulation, or a difficult crawlspace can turn the same circuit into a half-day or full-day task. Get a written scope that separates rough-in, device installation, fixture connection, testing, permit fees, and wall repair. Ask whether the electrician returns after inspection if the inspector requires a correction.
Order specialty dimmers and smart switches before rough-in, not after painting. Some require a neutral connection, a minimum load, a compatible LED fixture, or a particular box depth. Confirm Wi-Fi or hub requirements before promising a smart-light feature in the handover notes.

Testing and inspection handoff
The final test should cover more than whether the light turns on. With power restored by the qualified person performing the work, verify that the fixture can be controlled from both locations, that each switch changes the light state consistently, and that the device plates sit flat without strain. Test any dimming range with the actual lamp or fixture, because LED compatibility problems often appear only at low brightness.
Record the breaker label, fixture model, switch model, inspection date, and any approved deviations from the original plan. Keep a photo of the open boxes before cover plates are installed. If the renovation includes several circuits, label each switch location in the photo set. Future owners and future trades will have a much better starting point than they would from memory.
A diagram is especially useful after a fault. If a light stops working, the record helps the electrician isolate whether the problem is at the breaker, fixture, switch, traveler path, or a loose connection. It also prevents someone from opening multiple unrelated boxes while trying to find one junction.
A practical closeout checklist
Before closing the wall, confirm that the electrician has completed these items:
- The circuit is identified at the panel and matches the renovation plan.
- Both switch boxes are accessible, secure, and suitable for the device count.
- The fixture box is rated for the fixture and ceiling conditions.
- Grounding and neutral connections are handled according to the applicable code.
- The switches operate the light from both locations.
- The inspector has approved the rough-in when a permit is required.
- Photos, device manuals, and the final 2 way light switch wiring diagram are stored with the project documents.
The last item is easy to skip when the room is still dusty, but it is the document that pays off during a future remodel. Save the diagram as a PDF, print one copy for the electrical panel records, and note the date of any later change. If the original layout cannot be confirmed, schedule an electrician to trace and document it rather than guessing from colors.
A good renovation plan treats electrical work as a sequence of decisions: locate, specify, rough-in, inspect, close, test, and record. That process is less dramatic than copying a 2 way light switch wiring diagram from an unfamiliar installation, but it is far more likely to produce a safe, serviceable result. Which part of your current project is most likely to collide with the switch locations: cabinets, trim, plumbing, or the inspection schedule?


