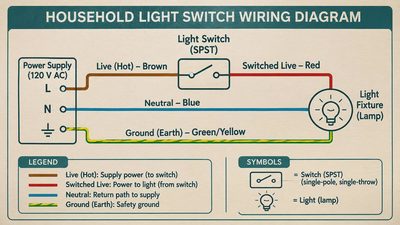
A one way switch wiring diagram shows how one switch controls a light from one location. In a typical US circuit, the switch interrupts the hot conductor; the neutral connects to the light without passing through a basic mechanical switch. The grounding conductors connect to the appropriate metal boxes and device grounding terminals. That is the simple version, not a promise that the wires in your wall follow the same route.
For a renovation, use the diagram to explain the desired result to your electrician, not to identify live wires by color alone. Existing boxes can contain multiple circuits, older switch loops, or wiring that has been altered. Arrange for a qualified electrician to identify the conductors and make the connections under the rules in force locally.
A one way switch wiring diagram in plain English
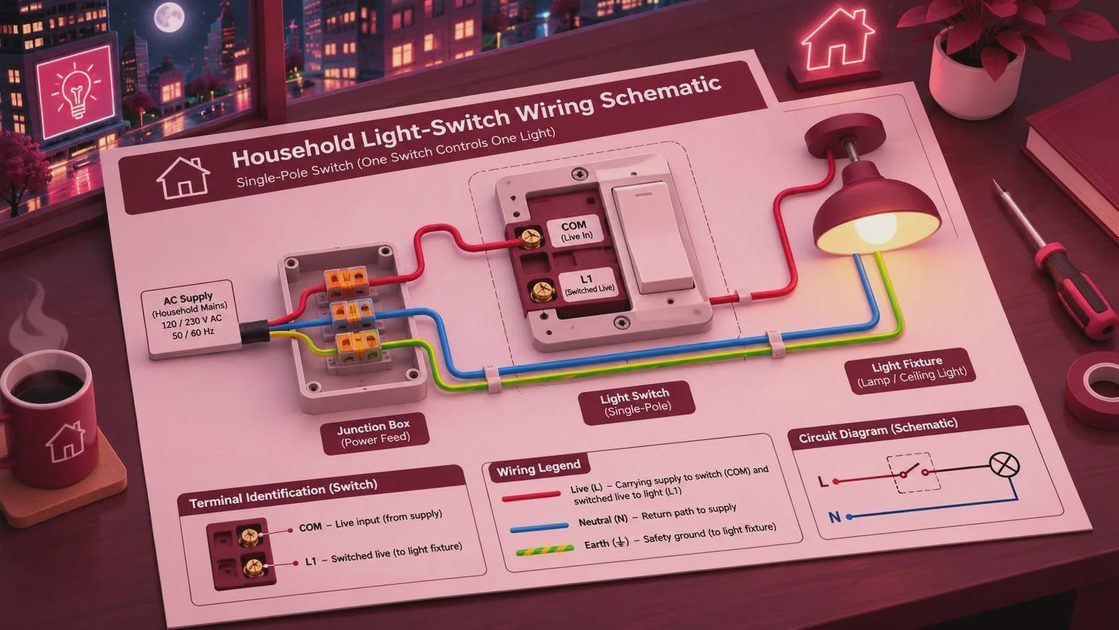
Think of the circuit as two connected paths rather than a picture of cable routing. The supply hot goes to one terminal of a single-pole switch. A switched hot leaves the other terminal and goes to the light. The supply neutral connects to the light's neutral. When the switch is on, it completes the hot path to the fixture; when it is off, it opens that path.
The equipment grounding path is separate from the normal current-carrying path. It connects to the switch's grounding terminal, to metal boxes where required, and to the fixture's grounding connection. Connections and splices belong in accessible approved boxes, not buried behind drywall.
A one-way switch in this context is usually called a single-pole switch in the US. It is different from a US three-way switch, which is used in a circuit that controls a light from two locations. If you want switches at both ends of a hallway, tell the electrician before rough-in; the single-location arrangement described here will not accomplish that by itself.
Where the cables run matters
The supply may reach the switch box first, or it may reach the ceiling box first. Either route can produce the same result at the light, but the conductors available in the switch box and the connections needed are different. A drawing of the electrical relationship does not tell you which cables are already in your walls.
In some older switch loops, a cable carries power from the light box to the switch and returns switched power to the light. A white conductor in an older installation may be used as a hot conductor rather than a neutral, subject to the applicable rules and identification requirements. A white wire is therefore not proof that a usable neutral is present.
That distinction matters when you are ordering controls. Many electronic or smart switches need a neutral at the switch box; others have different requirements. Ask the electrician to confirm the conductors, box space, grounding and compatibility with your selected control before you order it. Don't assume that a ground wire can substitute for a neutral.
If the existing wiring is cloth-covered, brittle, damaged or otherwise unfamiliar, leave it undisturbed and flag it for assessment. The electrician can determine whether the proposed work triggers repairs or other changes under local requirements. A photo helps with planning, but it cannot establish that a conductor is safe to touch.
Schedule the decision before rough-in
Put the switch location, light location and control type on the electrical plan before the electrician starts. For a doorway, show which side gets the switch and how the door swings. For a room with more than one entrance, decide whether a single control location will actually serve the way people move through it.
Confirm who is supplying the switch and fixture, and give their specifications to the electrician before boxes are set. A dimmer, occupancy sensor or smart control may have different wiring, space or compatibility requirements from a basic switch. If the final fixture is delayed, ask whether the electrician has enough information to set the box and prepare the circuit without it.
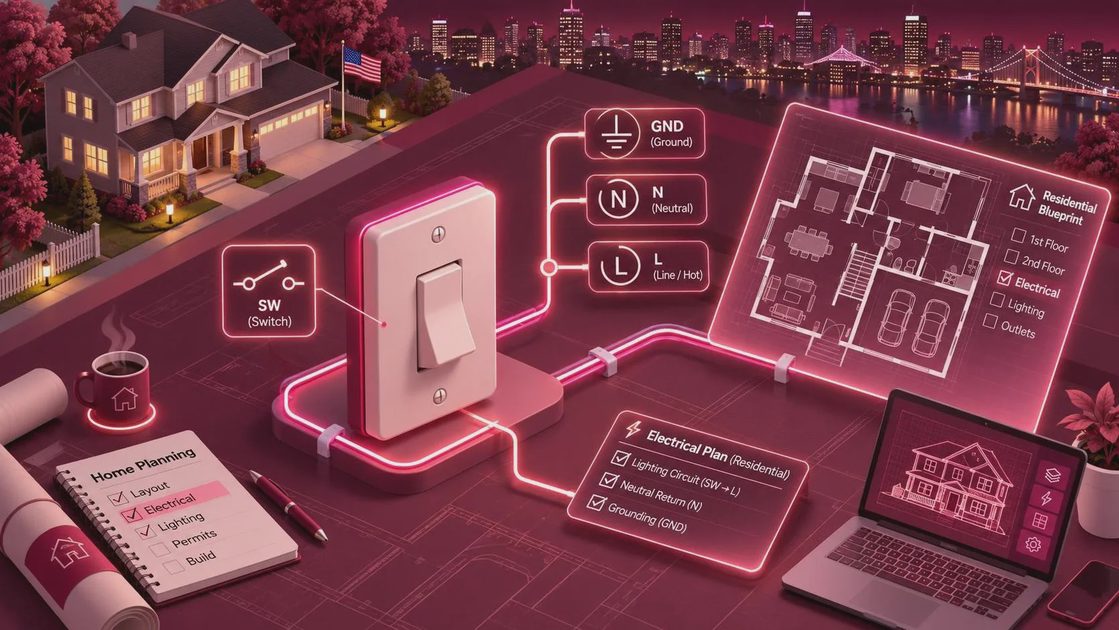
A practical sequence is layout, electrical rough-in, required rough inspection, insulation and drywall, then device and fixture installation. Exact permit and inspection rules vary by jurisdiction, so confirm them with the local building department and electrician before work starts. If it's not on the schedule, it's not happening: put the inspection request and its expected response window on the calendar, not just the electrician's workday.
Don't book drywall solely because the electrician expects to finish Friday. Leave room for the inspection appointment and any corrections. If an inspector requires changes, ask who will make them, when the work will be ready, and whether a reinspection is needed before the wall closes.
What to verify before anyone opens a box
A switch in the off position does not prove the box or fixture is de-energized. Other circuits may pass through the same box, and an existing installation may not be wired as expected. A qualified electrician should identify the relevant circuits, turn off the appropriate breakers and verify absence of voltage with a properly used tester before handling conductors. Breaker labels and wire colors are clues, not proof.
For the project manager, the useful handoff is a record of what the electrician found: which breaker serves the circuit, whether a neutral is present at the control box, and any limitations on the chosen switch or fixture. Update the panel directory when circuits are identified, and keep a copy of the revised plan with your renovation records.
Before finish work, confirm that the electrician has installed the specified control and tested the light's operation. Note any remaining cover plates, fixture parts or inspection items on the punch list with an owner and a date. That small closeout step is easier than reopening the question after the crew has moved to another job.
What did your electrician find at the switch box: a neutral ready for the control you wanted, or an older loop that changed the plan?