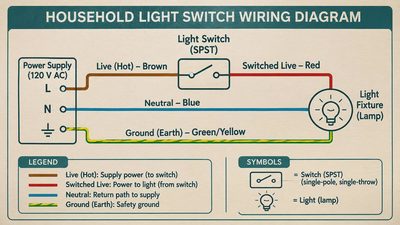
A lighting circuit supplies power to one or more lights and their controls. For a homeowner managing a renovation, the important decision is not how to wire it yourself; it is agreeing with the electrician on what each switch controls, where fixtures go, and when the work must be inspected before walls close. Put those decisions on the schedule before demolition, and you are less likely to pay for a finished ceiling to be opened again.
A lighting circuit does not necessarily serve only one room, and a room can have lights on more than one circuit. The electrician determines the safe arrangement based on the existing wiring, proposed loads, local requirements, and what the panel can accommodate. Your job is to provide a clear brief and make sure the other trades can work around it.
Start with a room-by-room lighting plan
Mark every proposed fixture, switch, and control location on a floor plan. For each room, note which lights should turn on together and where a person should be able to control them. A hallway with doors at both ends, for example, may need controls at both entrances. A kitchen might need separate control of ceiling lights, pendants, and under-cabinet lighting.
Give the electrician the plan before requesting a final scope. Ask them to identify which existing lighting circuit serves the area, whether it can support the proposed changes, and whether a separate circuit is appropriate. Existing conditions can change the answer after walls are opened, so ask how discoveries will be priced and approved.
Include cabinet elevations, ceiling details, and the location of any skylights or beams. A pendant centered on the room may not be centered over the finished island. Likewise, a light located without reference to an open cabinet door can become a coordination problem rather than an electrical one.

Put electrical work between the right milestones
The usual sequence is demolition, framing and other rough work, electrical rough-in, required inspection, insulation and wall closure, finishes, then fixture installation and final inspection. Local procedures vary, and the electrician or permit office should confirm which inspections apply. Do not book drywall simply because the wiring looks finished; required approvals need to be complete first.
Give the electrician a walkthrough after framing and before rough-in. Have the framer, HVAC contractor, and plumber flag conflicts where ducts, pipes, structural members, or access panels compete with fixture locations. Recessed lights are especially vulnerable to a last-minute collision above the ceiling.
After rough-in, walk the space again with the plan. Check switch locations against door swings and verify that fixture boxes line up with the agreed layout. Photograph open walls and ceilings before insulation or drywall covers them. The photos are useful records, not proof that the work passed inspection.
If a lighting circuit needs a change after the inspection, tell the electrician before anyone covers the work. The local inspector may need to see the revision. Schedule that possibility explicitly rather than assuming a minor change can be absorbed without affecting the next trade.
Order fixtures and controls before rough-in decisions
Ask suppliers for written availability and delivery estimates before setting your electrical dates. As a planning allowance, start checking stock and ordering selected fixtures roughly 6 to 8 weeks before the electrician needs them; custom or backordered items may need longer. That is a scheduling buffer, not a delivery promise. Confirm the actual date for each order, including any separate mounting hardware or driver.
The electrician may need fixture specifications before the physical products arrive. Send the installation instructions, dimensions, mounting requirements, and any driver or transformer details. For recessed or integrated fixtures, ask exactly which components must be on site at rough-in and which can wait until finish work.
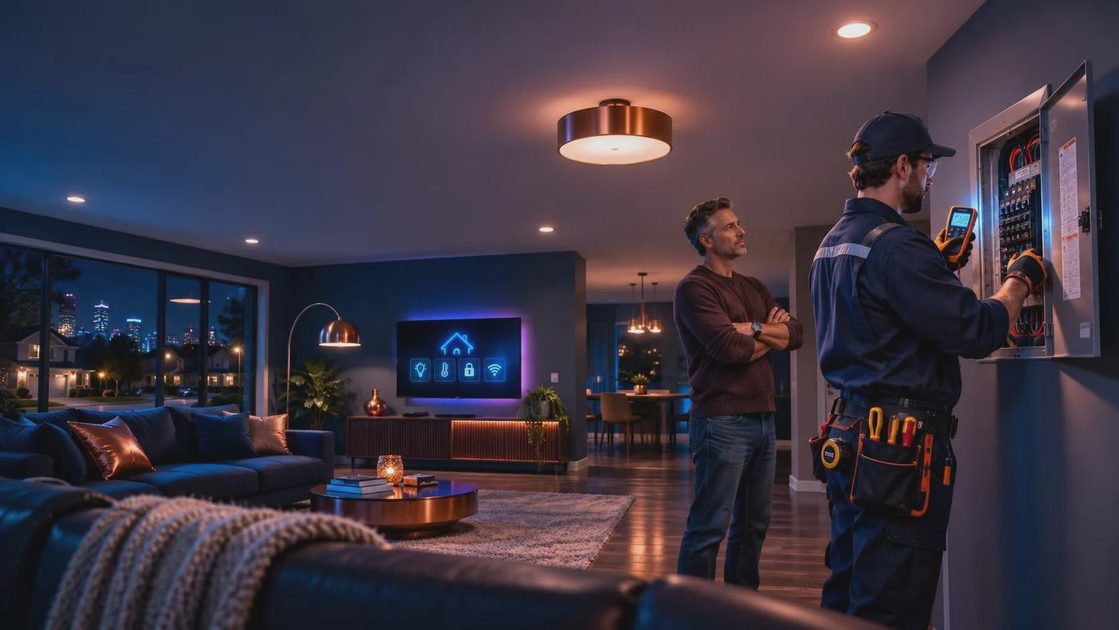
Match controls to the actual fixtures. Dimmable on a product page does not mean every dimmer will work with it. Have the electrician check the manufacturer's compatibility guidance and specify the control before the walls are finished. Smart controls may also have wiring or connectivity requirements that should be identified early.
When a fixture is delayed, do not substitute on appearance alone. A replacement may need a different box, mounting position, clearance, or control. Get the electrician's approval before ordering, then update the plan and tell the finishing contractor if the change affects a ceiling opening.
Price changes and protect the finish schedule
Request a written electrical scope that separates rough-in, fixtures and controls, permits, inspections, and finish installation. Clarify who supplies bulbs, dimmers, specialty drivers, and fixture mounting parts. An allowance is not the same as a final price: record what it covers and how differences will be billed.
For a change to a lighting circuit, ask for the cost and schedule effect before approving the work. A useful change order identifies the room, the revised control or fixture location, any additional materials, and whether an inspection must be rescheduled. Also tell the drywall and painting crews if their dates move; an electrical change can ripple through several bookings.
At finish stage, confirm that painting is sufficiently complete before fixtures and switch plates go on. Arrange for the electrician to return after fixtures arrive and finishes are ready, rather than leaving installation as an unassigned final task. If a light is missing, agree on a separate return visit and its cost.
Close out with a working control map
Walk through every room with the electrician at handoff. Operate each switch and dimmer, check that lights respond as planned, and flag flicker or controls that operate the wrong group. Ask for panel labels that accurately identify the areas served; a label should help the next person understand the installation, not just say "lights."
Collect permit and inspection records, fixture instructions, and control information with your renovation documents. If it's not on the schedule, it's not happening: put final testing and any return visit on the calendar before the electrician leaves.
Where did your lighting plan collide with framing, cabinets, or a late fixture delivery, and what would you schedule differently next time?