
An electrical wiring diagram for lights is not just a drawing for the electrician. For a homeowner managing a renovation, it is a coordination document that connects framing, electrical rough-in, drywall, fixture delivery, inspections, and final trim. A missing box location can create a drywall patch. A late fixture can leave a finished room without a usable light. The schedule needs to show what happens, who owns it, and what must be approved before the next trade arrives.
The safest approach is to use the diagram to plan the work, then have a licensed electrician adapt it to local code and site conditions. Do not treat an online sketch as permission to perform unfamiliar wiring yourself. Permit requirements, conductor sizes, grounding methods, box fill, GFCI protection, AFCI protection, and switch locations all depend on the project and jurisdiction.
Start with the room-by-room load map
Before anyone opens a wall, make a room list. Record every ceiling light, wall sconce, exhaust fan, switched receptacle, three-way switch, dimmer, exterior fixture, and low-voltage control. Give each item a reference such as K-01 for kitchen light one or H-03 for hall sconce three. That simple numbering system prevents the classic renovation argument where the electrician says “the back light” and the homeowner means a different fixture.
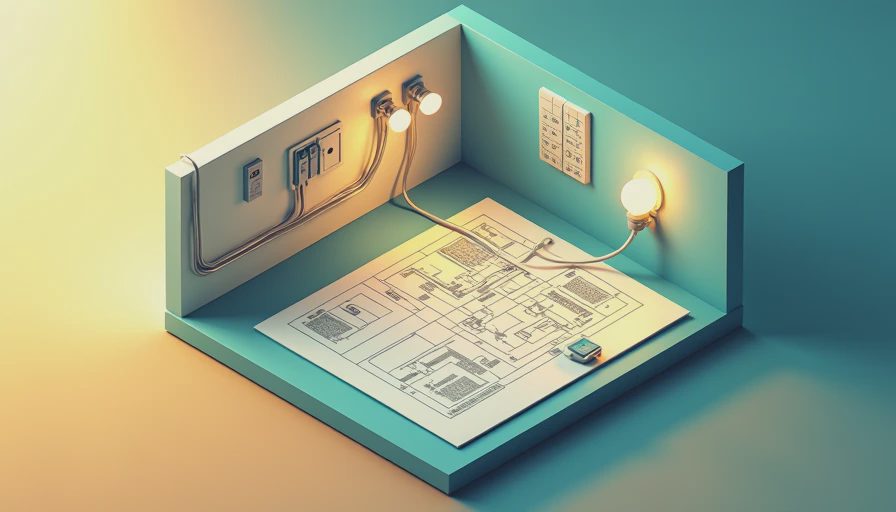
An electrical wiring diagram for lights should show the source panel or circuit, cable route, switch location, box location, fixture type, and control relationship. It should also note ceiling height, beam conflicts, insulation depth, and whether a box will support a fan or a heavy chandelier. A $15 ceiling box is not interchangeable with a fan-rated box, and a decorative fixture that weighs 35 pounds should not be assigned an ordinary lightweight mounting point.
Create the map before ordering fixtures. A recessed light layout can change when cabinet drawings are finalized, while a pendant centered over an island depends on the final island dimensions. Freeze those measurements before rough-in. If the kitchen plan changes after cable is installed, the cost is not just a new fixture; it can include electrician labor, drywall repair, paint, and a delayed inspection.

Sequence the trades around the rough-in
The electrical rough-in normally follows framing and precedes insulation and drywall. That sequence sounds basic, but renovation sites rarely stay basic. HVAC ducts may occupy the joist bay where a cable was planned. A plumber may need the same stud cavity. Blocking for cabinets can cover a box if nobody marks its position clearly.
Use a short coordination meeting before rough-in. The project manager, electrician, framer, HVAC installer, and plumber should review the reflected ceiling plan and wall elevations. Mark conflicts with painter’s tape and photograph open walls after the wiring is installed. Include a tape measure in the photo so a future repair person can locate boxes and routes without guessing.
An electrical wiring diagram for lights becomes more useful when it includes dates. Set a target for fixture decisions at least 10 to 14 days before rough-in. Order specialty items such as imported pendants, integrated LED fixtures, smart switches, and bathroom-rated fans four to eight weeks ahead when possible. Keep boxes and packing slips on site, but do not install finish fixtures while wet work, sanding, or painting is still underway.
The schedule should include an electrical rough-in inspection before insulation. If the inspector requires a correction, reserve at least two working days for the electrician to return. Insulation should not cover the work until the correction is accepted or the responsible trade confirms the approved process. If it is not on the schedule, it is not happening.
Make the diagram inspection-ready
A useful electrical wiring diagram for lights distinguishes between the plan and the field installation. The plan might show a cable route through the ceiling, but the field conditions could force the cable around a beam. The electrician should update the marked-up plan rather than leaving the change in memory.
Before inspection, check that every box is accessible, supported, and set to the intended finished-wall depth. Confirm that switch heights are consistent, travelers for multiway switching are identified, and dimmers are compatible with the selected LED loads. Verify that exterior and wet-location fixtures match their location ratings. In a bathroom, the light, fan, and receptacle plan should be reviewed together rather than treated as separate jobs.
Do not cover wiring because the drywall crew is waiting. A one-day delay is cheaper than opening a finished ceiling. Take clear photos of each wall and ceiling, label the room and date, and save the files in the project folder. Include the panel circuit directory once circuits are energized. A directory that says “lights” is less useful than “second-floor hall, bath, and stair lights.”
This is also the point to confirm who handles the permit and inspection call. Some electricians include that work in the contract; others expect the homeowner or general contractor to schedule it. Put the responsibility and required notice period in writing. A missed inspection can push insulation, drywall, and trim by several days.
Protect the finish phase from missing parts
Once drywall is complete, compare the installed boxes with the fixture inventory. An electrical wiring diagram for lights can identify locations, but it cannot solve a missing mounting bracket or an incompatible canopy. Open each fixture package early enough to find damaged glass, missing screws, incorrect finishes, or a canopy that does not cover the electrical box.
Build a trim-out checklist for each room. It should include fixture, mounting hardware, bulbs or LED specification, switch plate, dimmer, trim ring, smoke and carbon monoxide alarm, and any required sealant. For a recessed-light installation, confirm the trim style and color before the electrician arrives. For a smart switch, verify neutral-wire requirements, box depth, hub compatibility, and Wi-Fi or control-system setup.
Do not schedule the electrician for final trim while the painter is still spraying nearby. Fine paint dust can enter switches and fixture housings, and ladders can damage freshly finished floors. A practical sequence is paint completion, floor protection, fixture delivery check, electrician trim-out, then cleaning and owner testing. Leave a small punch-list window for adjustments such as a crooked pendant, a loose plate, or a dimmer that needs programming.
A practical handoff checklist
At handoff, compare the final installation with the electrical wiring diagram for lights and walk the house in daylight and after dark. Test every switch from every control location. Check that exterior fixtures operate from the intended switch, bathroom fans run correctly, dimmers do not flicker, and no fixture vibrates or hangs out of level.
Record the circuit number for each room and photograph the open panel directory. Keep manuals for smart switches, fans, and integrated LED fixtures with the renovation closeout documents. Write down the electrician’s company name, license information if provided on the permit paperwork, and the date of final inspection. Those records matter when a future owner, repair technician, or insurance adjuster needs to understand the installation.
A final electrical wiring diagram for lights should reflect approved changes, not the original concept. Mark abandoned locations, relocated switches, added fixtures, and circuits that serve more than one room. Store the drawing as a PDF and keep a printed copy near the panel, away from moisture. The goal is not a beautiful sheet of paper; it is a reliable record that prevents drilling into hidden wiring and reduces troubleshooting time.
The post-mortem worth writing down
The most common failure is not a dramatic electrical mistake. It is a scheduling mismatch: the ceiling is closed before a fixture is checked, the inspection was never booked, or the cabinet installer covers a box that was placed from an outdated plan. Write down what changed, when it changed, and what it cost. A $40 correction discovered at rough-in can become a $400 repair after drywall and paint.
Use the electrical wiring diagram for lights at every milestone: design freeze, rough-in, inspection, drywall close, fixture delivery, and final testing. Assign one person to maintain the current version and date every revision. Homeowners do not need to know every technical calculation to manage this well. They do need a visible sequence, clear ownership, and enough time between trades to catch errors.
Before the first cable is pulled, ask one practical question: which decision, if delayed this week, will force another trade to return? Put that answer on the schedule, confirm it with the responsible professional, and keep the drawing current. That is how a renovation moves from a stack of disconnected tasks to a controlled handoff.


