
If you are opening up an old wall, replacing suspended timber floors, or planning an extension, the question how many air bricks do i need should be answered before the brickwork is ordered. Air bricks are not decorative holes. They help ventilate the void beneath a suspended floor and reduce the chance of trapped moisture damaging joists, insulation, and masonry.
The correct quantity depends on the building footprint, air-brick size, wall layout, ventilation path, and local building requirements. A rough count from the front elevation is not enough. You need to map the airflow route, identify obstructions, and coordinate the openings with the bricklayer and building control inspector.
Start with the floor area and ventilation route
For a typical suspended timber floor, the first calculation is based on the floor area being ventilated. A commonly used starting point is at least 1,500 square millimeters of ventilation opening for every 1,000,000 square millimeters of floor area. In practical terms, that is approximately 1,500 square millimeters per square meter, although the final requirement depends on the construction and applicable regulations.
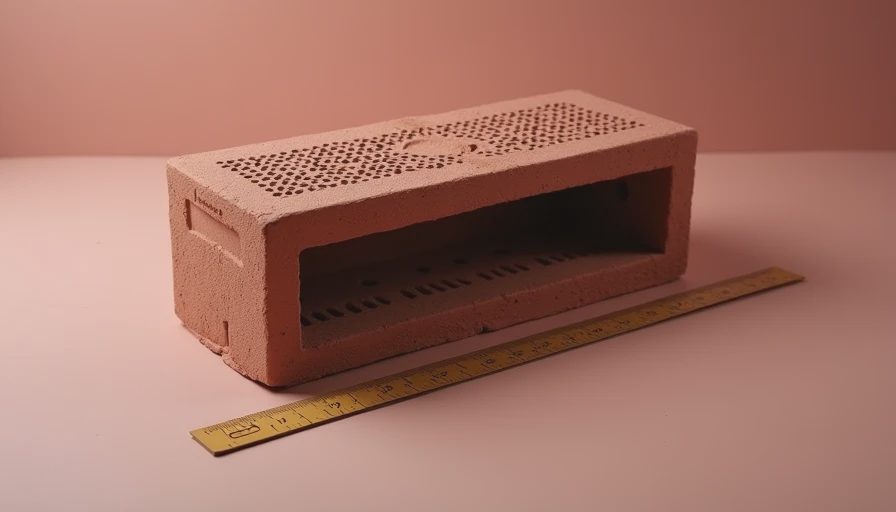
A standard air brick might provide around 6,000 to 7,000 square millimeters of nominal opening, but the free area can be much smaller once the molded pattern, grille, insect mesh, and mortar are considered. Product specifications matter. Do not count the outside dimensions alone.
For example, a 40-square-meter suspended floor could need approximately 60,000 square millimeters of effective ventilation area. If each selected air brick provides 6,000 square millimeters of free area, the calculation gives 10 units. That is a starting calculation, not permission to install exactly 10 wherever they fit. The openings must be distributed so air can travel across the entire subfloor void.
When calculating how many air bricks do i need, split the floor into zones if an internal sleeper wall, chimney breast, or deep foundation blocks cross-flow. Each isolated section may need its own openings. A large total opening at the front of the house will not ventilate a sealed rear section effectively.
Spacing matters more than a single total
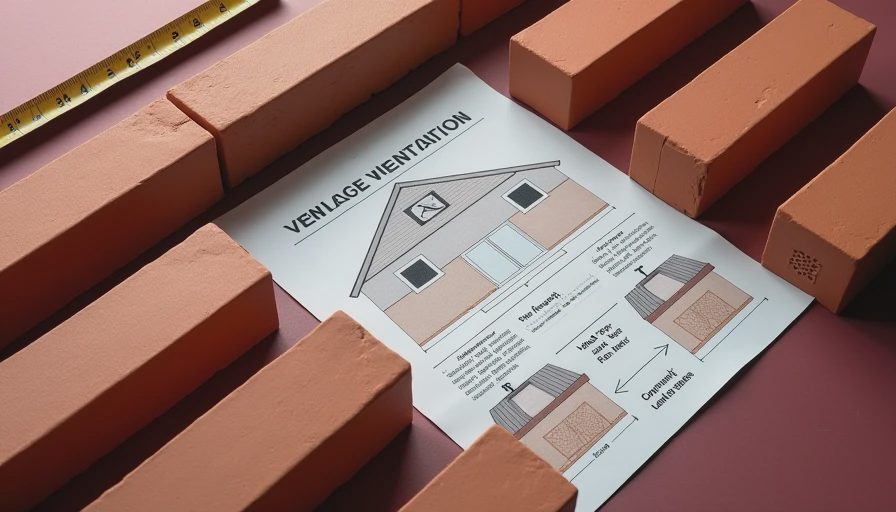
Air bricks should normally be positioned on opposite or adjoining external walls, with regular spacing rather than a cluster at one end. Many renovation teams work to roughly 1 meter to 2 meters between openings as a practical layout guide, adjusting for the building and the selected product. Keep openings low in the wall, generally close to the finished ground level, while maintaining enough clearance to prevent soil, paving, or mulch from covering them.
The air path needs to remain open after the project is complete. A new patio, driveway, raised flower bed, or insulation detail can quietly block an air brick that passed inspection on installation day. Mark the finished external level on the masonry drawing, not just the existing ground level.
A useful site check is to draw the floor plan and mark every proposed opening in a different color from drainage runs, foundations, and internal walls. Then ask three practical questions. Can air enter each section? Can it move through the void? Can it exit somewhere else? If the answer to any question is no, increasing the number of grilles may not solve the problem.
Do not place air bricks directly over a concealed drain or where a future conservatory footing will cover them. Relocating one later can involve cutting masonry, moving pipework, and arranging another inspection, turning a small oversight into a two-day delay.
Account for extensions and altered walls
An extension changes the ventilation calculation because the new floor area becomes part of the project. If the existing suspended floor connects to the extension, the subfloor void may need a continuous ventilation route. If the extension has a separate slab or sealed foundation arrangement, it may not share the same airflow requirement, but the existing house wall must still be assessed after openings are blocked or moved.
This is where the answer to how many air bricks do i need can change between the planning drawing and the construction drawing. A proposed doorway may remove two existing openings. A steel beam may create a new obstruction. A damp-proof course may be raised, changing the height available for the replacement units.
Before demolition, photograph every existing air brick and record its height from the current ground level. During setting out, the bricklayer should identify which openings are retained, which are removed, and which are replaced with telescopic or ducted units. Schedule this decision before the wall is closed. Waiting until the render or paving stage makes corrections expensive.
If a new opening passes beneath a wall or through a narrow foundation, use a suitable duct or sleeve specified for that application. Do not improvise with loose pipe sections or leave a rough cavity that can collect water and soil.
Avoid common installation failures
The most common failure is blocked free area. Mortar droppings, insulation, debris, and dense insect mesh can reduce ventilation immediately. Ask the bricklayer to protect the opening during construction and inspect the inside face before the floor is covered.
Another problem is installing an air brick flush against a joist, sleeper wall, or insulation board. The exterior grille may look clear while the internal route is closed. A simple photograph taken before floorboards or insulation are installed provides useful evidence of the completed route.
Watch for these coordination points during the work:
- Confirm the product free-area figure before ordering.
- Mark each opening on the masonry and floor plans.
- Check finished paving and soil levels against the damp-proof course.
- Inspect the subfloor void before insulation or boards conceal it.
- Record any opening that was moved from the approved layout.
Never cover an air brick with render, cladding, paving, or a removable grille that cannot be cleaned. If flood risk, high rainfall, or driving rain is a concern, select a product and detail that provide ventilation without creating an obvious route for water entry. A building professional should review unusual sites, especially where the ground is raised or the floor void is persistently wet.
Build the task into the renovation schedule
Air bricks affect more trades than most homeowners expect. The designer or surveyor should confirm the ventilation strategy before structural drawings are finalized. The bricklayer needs the product dimensions before laying the wall. The drainage contractor needs to know where ducts and pipes cross the route. The insulation installer must preserve the airflow, and the paving contractor must leave the external grilles exposed.
Order ordinary molded air bricks several days before masonry work, but allow one to two weeks for unusual colors, stainless steel products, telescopic units, or matching restoration details. Store them on site with the bricks and mortar specification so the wrong size is not installed by substitution.
Add a hold point to the schedule: do not close the floor or complete external groundworks until the ventilation route has been photographed and checked. If it is not on the schedule, it is not happening. That one inspection can prevent a later floor lift costing hundreds of dollars or pounds in labor, depending on your location and contractor rates.
The practical answer for your project
So, how many air bricks do i need? Begin with the required effective ventilation area, divide it by the product's stated free area, then distribute the result across every connected section of the subfloor. Add openings where walls, chimneys, or foundations interrupt airflow, and revise the count when an extension changes the footprint.
Write the calculation on the project plan and attach the product data sheet. Take photographs before concealment, check finished ground levels, and arrange any required inspection before the paving or flooring crew arrives. The exact number is less important than a complete, unobstructed route that remains usable after the renovation is finished.
What floor area and wall layout are you working with, and which trade is currently responsible for setting out the openings?


