
A lighting circuit diagram is not decoration for an electrical plan. It is a coordination document that shows how power reaches switches, fixtures, junction boxes, and sometimes receptacles. For a homeowner managing a renovation, the diagram can prevent a rough-in mistake from becoming a drywall delay, an inspection failure, or a second electrician visit costing $150 to $300.
The important distinction is that a diagram helps you plan and review the work; it does not authorize unlicensed electrical work. Local rules differ, and many jurisdictions require permits, licensed trade involvement, and an inspection before walls are closed. Treat this as a scheduling and communication guide. If it is not on the schedule, it is not happening.
What a lighting circuit diagram should show
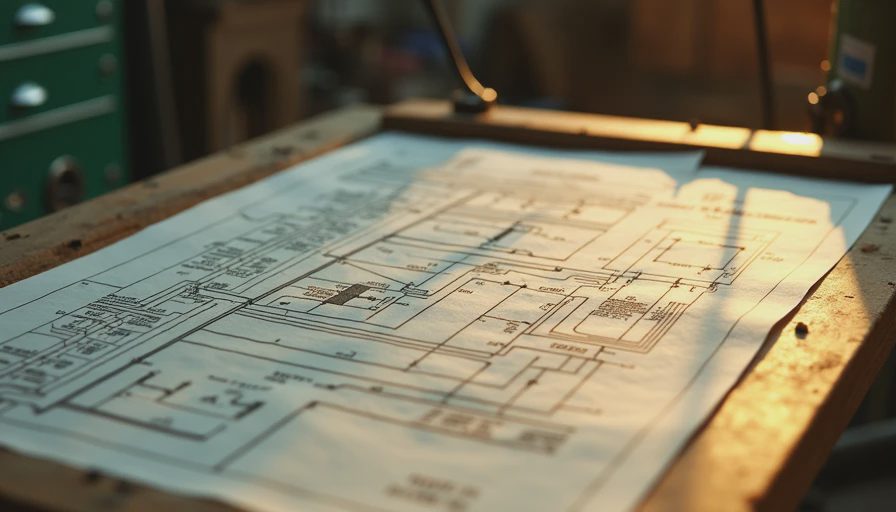
A useful lighting circuit diagram identifies the electrical panel, circuit number, cable route, switches, fixtures, junction boxes, and grounding path. It should also indicate whether a switch is single-pole, three-way, or dimmer-compatible. The drawing does not need to look like an engineering blueprint, but every symbol must have a clear meaning and every room must be easy to locate.
Start with a floor plan rather than drawing from memory. Mark the ceiling fixture in the kitchen, wall sconces in the hallway, vanity lights in the bathroom, exterior fixtures, smoke alarms, and any planned under-cabinet lighting. Then draw the control points. A hallway with switches at both ends needs a different arrangement from a bedroom controlled at one door.
Write fixture names beside symbols instead of relying on a separate legend. “Kitchen island pendant, switched from south wall” is more useful on a jobsite than “L-04.” Record the intended fixture load, manufacturer instructions, and whether the light requires a dedicated driver or transformer. A $40 recessed light and a $900 chandelier can create very different installation and support requirements.

How to read the diagram before rough-in
Read a lighting circuit diagram in the same order the electrician will build the system. Begin at the panel and follow the circuit toward each load. Confirm the proposed breaker, cable route, box locations, and switch legs. Then compare the drawing with framing, plumbing, ductwork, insulation depth, and the locations of future cabinets.
This review is where renovation conflicts become visible. A ceiling light centered on the original room may land above a new kitchen island. A vanity box may be placed before the mirror size is confirmed. A wall sconce can collide with a medicine cabinet, shower valve, or pocket-door cavity. Fixing these issues during rough-in is usually a short layout change; fixing them after drywall can involve patching, repainting, and a return trip.
Use three physical references during the walk-through: the latest architectural plan, the cabinet elevation, and the lighting circuit diagram. Date all three. If the cabinet supplier sends a revised elevation on Tuesday, the electrical plan should not remain frozen from the previous Friday. Put the revision number in the file name and print the current version for the site binder.
Never assume a switch box can be moved later without consequences. Cable length, box accessibility, wall blocking, insulation, fire stopping, and finish materials all affect that change. The electrician should identify any proposed junction box that will become inaccessible after construction. Junction boxes generally need to remain accessible, so burying one behind permanent drywall is not a scheduling solution.
Coordinate fixtures, materials, and trade dates
The biggest lighting delay I have seen was not an electrical failure. The fixtures had not arrived. The electrician completed rough-in, the drywall crew closed the ceiling, and the homeowner later discovered that the selected recessed lights required a different housing depth. The correction involved opening finished drywall and paying for two extra site visits.
Use the lighting circuit diagram to create a procurement register. For each fixture, record the product name, quantity, box contents, backordered parts, mounting requirements, and delivery date. Order basic recessed housings and standard switches early, often two to four weeks before rough-in. Decorative pendants, imported fixtures, specialty dimmers, and replacement glass can require six to twelve weeks. Keep packaging and installation instructions in a labeled room or storage area, not in an unheated garage where moisture can damage paper and finishes.
The trade sequence should be explicit. Framing must be sufficiently complete for box placement. The electrician performs rough-in before insulation and drywall. The inspector reviews the permitted work where required. Insulation follows approval, then drywall, primer, finish painting, fixture installation, and final testing. If cabinets are being installed, provide the cabinet elevation before the electrical rough-in and schedule a confirmation visit after cabinets are set.
A lighting circuit diagram should be revised when fixture locations change, not six weeks later. Mark field changes in red, photograph concealed junction boxes before insulation, and save the final drawing with the permit documents.
Common diagram mistakes and their cost
The first mistake is showing fixtures without showing controls. A ceiling light symbol alone does not tell anyone whether the light is controlled from one location, two locations, a motion sensor, or a smart switch. The second mistake is omitting low-voltage equipment. LED tape, smart lighting hubs, and doorbell transformers may need accessible power and ventilation.
The third mistake is counting fixtures but not checking circuit capacity or compatibility. LED fixtures often use less power than older incandescent lamps, but drivers and dimmers still have compatibility requirements. A dimmer rated for one type of load may flicker with another. Do not solve this by swapping parts casually; have the electrician confirm the listed equipment.
The fourth mistake is using a diagram that ignores local conditions. A damp basement, coastal exposure, Phoenix heat, and Portland moisture can affect fixture ratings, exterior boxes, sealants, and material storage. Exterior and wet-location fixtures need products rated for their location, not merely products that look weatherproof in a catalog.
The fifth mistake is treating a screenshot as the final record. Screenshots lose dimensions, revision notes, and file context. Keep the source plan, the marked-up field copy, inspection records, and fixture manuals together. A future owner or service electrician should be able to understand the installation without interviewing the person who managed the renovation.
A practical approval checkpoint
Before rough-in, schedule a 30-minute site meeting with the homeowner, electrician, general contractor if one is involved, and cabinet or framing lead. Walk room by room. Confirm every fixture, switch height, control location, ceiling centerline, wall opening, and special requirement. Ask who will make the correction if the field condition differs from the drawing and how that change will be documented.
After rough-in, compare the installed boxes and cable paths with the lighting circuit diagram before insulation begins. Take wide photos showing the room and close photos showing each box, route, and junction. Measure from permanent corners so future repairs do not depend on guesswork. Store the photos in a folder named with the inspection date.
At trim-out, test every switch combination, dimmer range, sensor, exterior fixture, and smart control. Confirm that faceplates sit flat, bulbs match the fixture requirements, and no light is blocked by a cabinet door or mirror. Keep a punch list with room, issue, responsible trade, and completion date. “Electrical needs attention” is not a useful entry; “upstairs hall three-way switch does not operate east fixture” is.
The final project-management check
A good lighting circuit diagram connects design decisions to trade dates, material orders, inspections, and closeout records. It gives the electrician a clear scope and gives the homeowner a way to spot missing information before a wall is sealed. It also exposes dependencies: the vanity size affects the sconce location, the cabinet elevation affects under-cabinet power, and fixture delivery affects trim-out.
Print the current drawing, write the revision date in the site binder, and remove obsolete copies from the work area. Confirm the permit and inspection requirements with the responsible local authority, and use a qualified electrician for installation and testing. The goal is not to make the homeowner perform electrical calculations. The goal is to make the sequence visible early enough that the right trade can correct the right problem.
If you are building a lighting circuit diagram for your renovation, which room has the most unresolved dependencies right now: the kitchen, bathroom, hallway, basement, or exterior lighting?


