
Lighting wiring is one of those renovation tasks that looks small on a floor plan and becomes a schedule problem when nobody owns the sequence. A recessed-light layout affects framing, insulation, drywall, paint, cabinet installation, and the electrician's return visit. Treat the work as a coordinated package rather than a handful of holes in the ceiling, and you can avoid paying a trade to redo work another trade covered.
My rule for this part of a project is simple: if it's not on the schedule, it's not happening. Put every lighting decision, material order, rough-in inspection, and fixture installation on the calendar before demolition starts.
Start with a room-by-room lighting wiring plan
Begin with a marked-up floor plan, not a shopping cart. For each room, record the fixture location, switch location, circuit, control type, ceiling condition, and responsible trade. A basic worksheet might include:
- Fixture type: recessed, surface-mounted, pendant, sconce, under-cabinet, or fan light.
- Quantity and exact center points, measured from finished walls rather than rough framing.
- Switch groups, dimmer locations, three-way controls, and any occupancy sensors.
- Ceiling access, joist direction, insulation depth, and locations of ductwork or plumbing.
- Fixture specifications, including box requirements, driver location, trim size, and rated use.
Lighting wiring for a kitchen usually needs more coordination than lighting wiring for a bedroom. A kitchen may include recessed lights, pendants, under-cabinet strips, pantry lighting, and a dining fixture, each with separate controls. Confirm whether the cabinet installer needs a channel, transformer space, or low-voltage cable before the electrician closes the wall.
Use finished dimensions wherever possible. A pendant centered over a future island can be several inches wrong if the island changes after the rough electrical visit. Freeze the cabinet and plumbing layout before asking the electrician to set final fixture centers.

Sequence the trades instead of scheduling isolated visits
A reliable sequence usually looks like this:
- The designer or homeowner freezes the reflected ceiling plan and switch locations.
- The electrician reviews the plan, panel capacity, existing circuits, and access conditions.
- The framer installs blocking for heavy fixtures, ceiling fans, sconces, and wall-mounted lights.
- The electrician completes rough lighting wiring, boxes, cable runs, and switch legs.
- The rough electrical inspection occurs before insulation or drywall covers the work.
- The insulation crew works around approved boxes and sealed penetrations.
- Drywall, trim, and paint proceed while fixture submittals and delivery are tracked.
- The electrician returns for trim-out, controls, lamps, drivers, testing, and corrections.
The gap between rough-in and trim-out is where many projects lose time. A rough electrical visit might happen in March, while the selected dining pendant has an eight-week lead time. The wiring can be ready, but the final fixture cannot be installed until late May. Create a procurement date at least six weeks before the required installation date for ordinary fixtures and ten to twelve weeks for unusual finishes, imported products, or large decorative pieces.
Do not let drywall cover a disagreement about locations. Walk the rooms with a printed plan, painter's tape, and a tape measure. Mark the center of every ceiling fixture and the height of every wall sconce. Take photographs after the rough work, including a tape measure in the frame, before insulation begins.
What to confirm before rough electrical work
The electrician needs more than a fixture name. Provide the installation sheet, weight, mounting method, box requirements, and control information. A fixture that appears lightweight on a website may require a fan-rated box, a brace, or special blocking. Large chandeliers can add $150 to $500 in structural preparation when the ceiling was not framed for the load.
Confirm circuit strategy as well. General lighting is often separated from major appliance loads, but the exact arrangement depends on the existing panel, local requirements, and the electrician's design. Older homes may have crowded panels, aluminum branch wiring, shallow boxes, or limited grounding. Those conditions can change both price and schedule.
For a typical 1,500-square-foot renovation, a straightforward lighting rough-in might land around $2,000 to $6,000 in labor and materials, while a whole-home rewiring project can run substantially higher. The number is not a bid; it is a planning range. Ask for separate prices for new circuits, access repairs, fixture installation, dimmers, smart controls, and patching so a change does not hide inside one lump sum.
If the plan includes low-voltage LED tape, identify where the driver will live. Drivers need ventilation and future access. Burying one above a finished ceiling without an access strategy turns a failed component into a drywall repair.
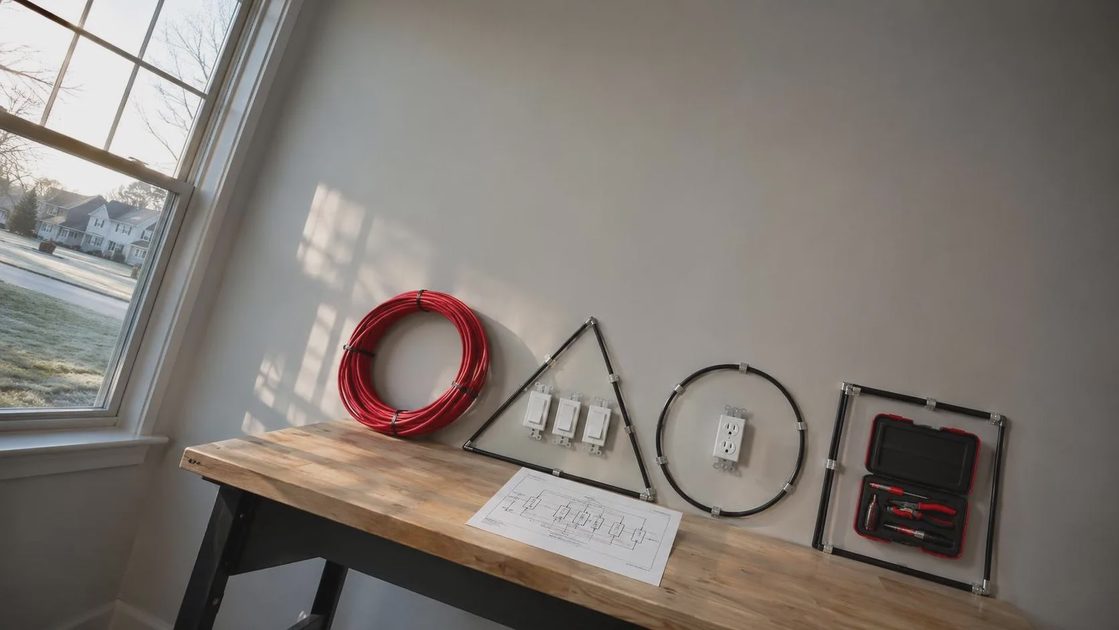
Procurement: order the parts that control the schedule
Create a fixture register with five columns: room, item, supplier, promised delivery date, and installation dependency. Add a sixth column for approved substitution. This is more useful than a folder full of product links because it shows which late item can stop another trade.
Order long-lead fixtures before demolition when the selections are stable. A $400 pendant with a six-week lead time is more dangerous to the schedule than a $40 recessed trim available locally. Hold packaging and inspect every fixture when it arrives. Check finish, color temperature, voltage, canopy size, glass condition, and mounting hardware before the electrician's trim date.
Keep one spare for inexpensive, repeatedly used items such as standard LED lamps or compatible trims. Do not assume a discontinued trim will be available later. For integrated LED fixtures, save the model number and driver information in the project file. If a warranty issue appears, that documentation can save a return trip.
Inspection, testing, and the closeout list
The rough inspection is not a formality. Before the inspector arrives, verify that boxes are securely mounted, cables are protected, junctions remain accessible, and unused openings are handled correctly. Photograph walls and ceilings before they disappear. Label unusual switch legs and three-way circuits in the panel directory.
At trim-out, test every control from every location. Check dimming at low, medium, and full output; listen for buzzing; look for flicker; and confirm that smart switches have the neutral or compatible wiring they require. Test bathroom and exterior fixtures under their actual conditions, including moisture-rated locations and weather exposure.
Use a punch list with room, defect, owner, and due date. Typical corrections include a crooked trim, mismatched color temperature, a switch controlling the wrong group, a loose canopy, paint on a fixture, or a driver hidden where it cannot be serviced. Do not close the electrical portion of the project until the panel schedule, product manuals, warranty details, and inspection records are stored together.
A practical pre-start checklist
Seven days before rough work, confirm that the latest plan is printed, fixture specifications are attached, cabinet dimensions are frozen, and access is clear. Confirm the electrician's arrival date and the inspection booking process. Two days before, walk every room and mark fixture centers with tape. On the morning of the work, photograph existing conditions and confirm which walls or ceilings will be opened.
After rough-in, schedule the inspection before insulation. After drywall, schedule a trim-out date only when the required fixtures are physically on site. If an item is delayed, decide whether to install a temporary fixture, reschedule one room, or change the product before the electrician arrives. A $75 temporary socket can protect a week of sequencing, while a missed trim appointment can cost $300 or more in remobilization.
The post-mortem is worth recording. Note which fixture arrived late, which measurement changed, and which trade needed access that was not reserved. That record becomes the next project's schedule instead of another expensive surprise. Where did your lighting wiring plan first collide with framing, cabinets, drywall, or procurement?


