
A single light switch wiring diagram is useful when you are planning a renovation, checking an electrician's scope, or trying to understand why a light is not working. It is not a substitute for a site-specific inspection. Existing wiring can include hidden junctions, shared circuits, older cable, or changes made by a previous owner. Treat the diagram as a planning document, then schedule qualified electrical work with the same care you would schedule drywall, flooring, or a cabinet delivery.
The first project-management decision is whether this is a simple replacement or a new circuit. Replacing a damaged switch in the same box is different from adding a switch, moving a fixture, or running cable through finished walls. Write down the work area, circuit location, fixture location, wall access, permit requirements, and inspection date before ordering parts. If it is not on the schedule, it is not happening.
What the diagram should show
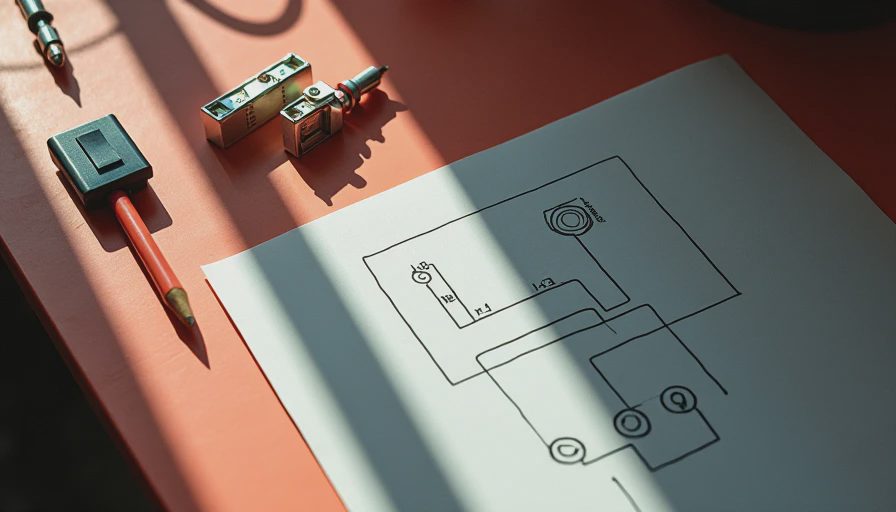
A basic single-pole lighting circuit normally has a power source, a switch, and a light fixture. The switch controls one light from one location. The diagram should identify the incoming hot conductor, the switched hot conductor leaving the switch, the neutral conductor continuing to the fixture, and the grounding conductors bonded to the metal box or device grounding point where required.
A single light switch wiring diagram should not be read as a universal color-code guarantee. In common US wiring, black is often used for ungrounded hot conductors, white for neutral, and bare or green for ground. However, a white wire can be reidentified and used in certain switch-loop arrangements, and older installations may not follow modern expectations. Never rely on color alone. The terminal markings, tester results, cable routing, and local code requirements all matter.
Before work begins, record the breaker number, panel label, room, fixture type, switch-box size, and whether the circuit includes outlets or other rooms. Photograph the existing arrangement only after power is off and the absence of voltage has been verified. A rushed photo taken before testing can preserve a dangerous assumption instead of useful documentation.
The safety and permit checkpoint
Electricity is not a good place to improvise a schedule. Turn off the circuit at the service panel, lock or tag the breaker if other people are working nearby, and test the conductors with a properly functioning tester. Test the tester on a known energized source before and after checking the circuit. A noncontact tester is helpful for screening, but it should not be your only confirmation that wires are de-energized.
A permit or inspection may be required for new wiring, a new circuit, remodeling work, or changes inside walls. Requirements vary by jurisdiction, and some areas restrict electrical work to licensed professionals or homeowners who meet specific conditions. Ask the building department before opening walls. A failed inspection can add several days, a second trip charge, and the cost of correcting inaccessible connections.
Plan a licensed electrician's visit if the panel has no spare capacity, the wiring is aluminum or cloth-covered, the box is overcrowded, there is evidence of heat damage, the grounding path is uncertain, or the circuit trips repeatedly. Typical service-call pricing often falls around $100 to $250 before materials, while a new cable run through finished walls can cost several hundred dollars or more depending on access and finish repairs. Scheduling that visit before drywall closes is cheaper than discovering the problem after painting.
Reading a typical single-pole layout
In a standard layout, line power enters the switch box or the fixture box, depending on how the circuit was originally installed. The hot conductor connects to the common terminal on the switch. A switched hot leaves the other switch terminal and connects to the fixture's hot lead. The neutral generally travels uninterrupted to the fixture, while the grounding conductor connects to the switch yoke, fixture, and approved box grounding points.
The common terminal is not interchangeable with the other terminal merely because the switch has two brass screws. A single-pole switch may have one darker common screw and one lighter terminal screw. A three-way switch looks similar but has a different function and wiring arrangement. Confirm the device type before disconnecting anything. If two switches control the same light, a basic single light switch wiring diagram is the wrong reference.
For a new installation, the electrician also checks cable size against breaker rating, box volume, staple placement, connector approvals, and protection from physical damage. Wire nuts or push-in connectors must be listed for the conductors being joined and installed according to their instructions. A tidy appearance is helpful, but compliance and secure connections come first.

Coordinate the work with the renovation schedule
Electrical rough-in should happen after framing changes are complete and before insulation or drywall. Give the electrician a marked plan showing the switch height, fixture centerline, cabinet locations, door swing, and any future built-ins. A switch that lands behind a tall cabinet is a coordination failure, not a finishing detail. Confirm the fixture box rating before the ceiling is closed, especially for a heavy chandelier or fan-rated fixture.
Use a short procurement checklist. Order the switch, wall plate, electrical box, cable or conduit specified by the trade, wire connectors, and fixture before the rough-in date. Standard switches may cost $2 to $10, while dimmers, smart switches, and occupancy sensors commonly cost $15 to $80. Smart devices often need a neutral connection and sufficient box depth, so do not substitute one after rough-in without confirming compatibility.
Build in time for inspection. In a small renovation, rough electrical work may be completed in one visit, but the inspection window can take several business days. Drywall should follow approval, not optimism. If the inspector requests a correction, leave the wall accessible until the correction is signed off.
Common failure points and the post-mortem
The most common planning mistake is assuming that a diagram describes the existing house. It does not. Another is buying a decorative switch or smart control before confirming neutral availability, amperage, load type, and box depth. A third is scheduling the electrician after the painter, forcing a finished wall to be opened.
A useful post-mortem records what was discovered, what changed, and what it cost. For example, finding an undersized box might add $20 in material and 30 minutes during rough-in. Finding it after tile is installed can mean removing trim, patching the wall, and rescheduling two trades. Photograph the open box, label the circuit in the panel, and store the final marked-up plan with appliance manuals and inspection records.
If a breaker trips, a switch feels warm, there is buzzing, discoloration, a burning smell, or visible arcing, stop using the circuit and call an electrician. Do not treat intermittent operation as a minor nuisance. Those symptoms can indicate a loose connection, overloaded circuit, damaged device, or failing component.
Questions to settle before the electrician arrives
Ask whether the work is a replacement, extension, or new circuit. Ask who pulls the permit, who schedules the inspection, and what wall and ceiling access the price assumes. Ask whether the quote includes patching, paint, fixture installation, disposal, and a return visit for inspection corrections. Request that the completed circuit be tested and that the panel directory be updated.
Bring your single light switch wiring diagram, fixture specifications, and photos of the accessible framing. Mark the desired switch position with painter's tape, but let the electrician confirm required clearances and practical routing. Keep flooring, trim, and fragile fixtures out of the work zone until the electrical inspection is complete.
The best renovation result is not the fastest connection; it is a documented, tested installation that does not disrupt the next trade. Which part of your lighting plan is currently least certain: the circuit path, permit timing, fixture location, or electrician availability?


